A Certificate Authority plays a vital role in ensuring and verifying secure connections between clients and servers. When you try to connect to a remote server – let’s say a website, for example – how does your system know that it is connecting to the right place? After all, there is nothing stopping any rogue system from claiming itself as a website which it is actually not. This is where certificate authority servers come into play, by helping our client system verify that we are connecting to the intended server. This particular example is in the context of a website connection, so would involve the HTTPS protocol, but certificate authorities can also be used to authenticate other types of connections, such as VPN.
There are a number of universally trusted certificate authorities (root CAs), as well as a slew of subordinate CAs that have established themselves as trustworthy by root CAs. But it is also possible to create your own Certificate Authority. As long as your servers and their connecting clients agree upon using the same CA for certificate issuing and authentication, then we can handle the whole CA process in house. In this tutorial, we will see how to turn a Debian Linux or Ubuntu system into a Certificate Authority.
In this tutorial you will learn:
- How to install Easy-RSA to establish certificate authority
- How to finish initial CA setup and generate
ca.keyfile
| Category | Requirements, Conventions or Software Version Used |
|---|---|
| System | Debian Linux and Ubuntu Linux |
| Software | Easy-RSA |
| Other | Privileged access to your Linux system as root or via the sudo command. |
| Conventions |
# – requires given linux commands to be executed with root privileges either directly as a root user or by use of sudo command$ – requires given linux commands to be executed as a regular non-privileged user |
Setting up a Certificate Authority on Ubuntu / Debian
Without a certificate authority, it is easy for malicious servers to masquerade as the one we want, and obtain sensitive information upon our connection to them. It has become common process for businesses or other network infrastructures to create their own certificate authorities, since doing so is cheaper than paying for an official one, and much more flexible in its customization. A certificate authority can allow users to reliably connect to a VPN, a secure website (HTTPS), cryptographically sign emails, and lots more.
In the instructions below, we will go through the process of installing Easy-RSA in order to use a system as a Certificate Authority on Debian or Ubuntu Linux.
- Get started by opening a command line terminal and installing the
easy-rsasoftware package withapt:$ sudo apt install easy-rsa
Easy-RSA will be the tool that we use in order to generate a private key, which will then sign requests from incoming client connections that need the CA to verify the identity of a server.
- Next, let’s get started with configuring Easy-RSA. We will do this by creating a directory for our Public Key Infrastrucure (PKI). This can be named whatever you want, but we will keep it straightforward for the sake of example:
$ mkdir ~/easy-rsa
- Next, we can either copy all the Easy-RSA files into our new PKI directory, or just create a symbolic link to them. The advantage of creating the symbolic link is that we will not need to modify our PKI directory in case there are future updates to the Easy-RSA package. Execute the following command to create the link:
$ ln -s /usr/share/easy-rsa/* ~/easy-rsa/
$ cd ~/easy-rsa
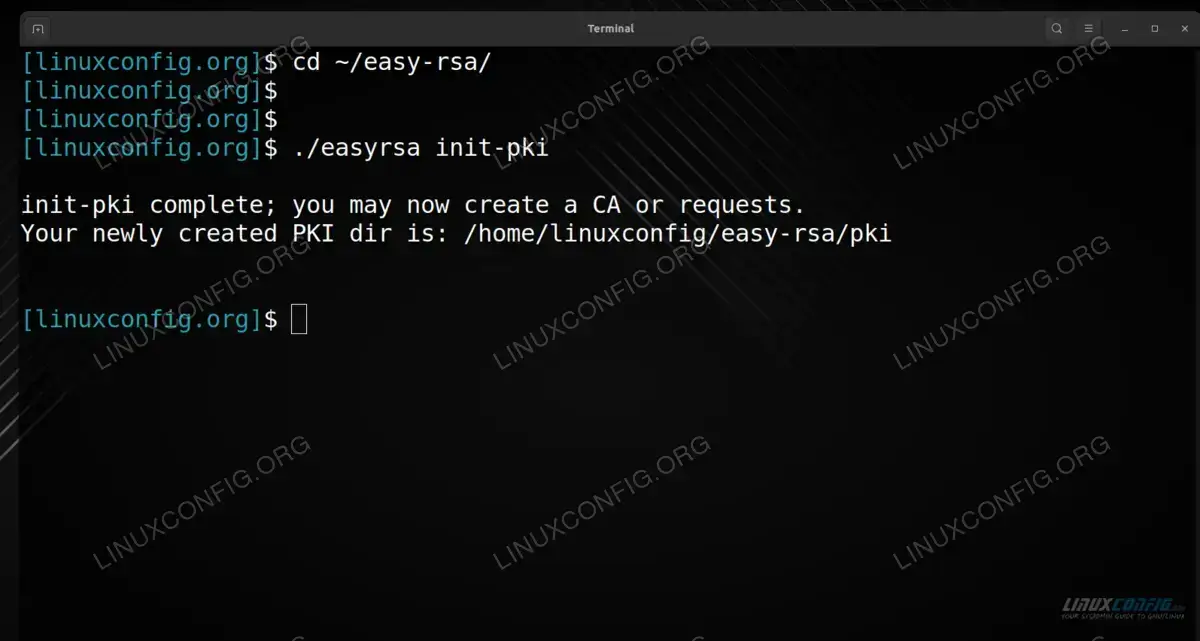
- Once we are in the
~/easy-rsadirectory, we run the script that initializes it as a PKI directory.$ ./easyrsa init-pki

Initializing the PKI directory of our CA - Next, we need to set some variables in our configuration. This can be done by creating a file named vars inside of the PKI directory
~/easy-rsa.$ nano vars
The following content can be pasted inside; just adapt it to reflect your own information:
set_var EASYRSA_REQ_COUNTRY    "US"
set_var EASYRSA_REQ_PROVINCE   "LA"
set_var EASYRSA_REQ_CITY       "Los Angeles"
set_var EASYRSA_REQ_ORG        "LinuxConfig.org"
set_var EASYRSA_REQ_EMAIL      "admin@linuxconfig.org"
set_var EASYRSA_REQ_OU         "Linux Tutorials"
set_var EASYRSA_ALGO           "ec"
set_var EASYRSA_DIGEST         "sha512"
After editing the file to your satisfaction, save changes and exit it.
- Next, we will run the
build-cascript. This will build the Certificate Authority, which generates a public and private key pair.$ ./easyrsa build-ca
You will be prompted to enter a passphrase that secures the key pair. Then, enter a name that represents your CA server, such as the hostname or username. We use
linuxconfig-CAin the screenshot below:
Building the certificate authority - Your server is now ready to act as a Certificate Authority. All clients that need to interact with your CA will need a copy of the
ca.crtfile, which should be stored in the~/easy-rsa/pkidirectory, if you have been following along with us.$ cat ~/easy-rsa/pki/ca.crt
It is up to you how you choose to distribute the file, but all connecting clients will need a copy of it.
WARNING
Be sure to keep yourca.keyfile secure. This file is stored at~/easy-rsa/pki/private/ca.keyand should never leave the system. If this file becomes compromised, the purpose of the CA will be rendered useless.

Importing a Certificate Authority
On client systems, you will need to receive the ca.crt file (generated above) from the certificate authority server. This file is easy to identify because it will start with the line: ----BEGIN CERTIFICATE----.
To add the certificate authority on debian and ubuntu, we would copy the ca.crt file to the following directory:
$ sudo cp ca.crt /usr/local/share/ca-certificates
Then, we need to update the certificate list in order for the changes to take effect by running the command below:
$ sudo update-ca-certificates
That’s all there is to it. You should now be able to connect to the private servers that are authenticated by the certificate authority.
Note that some applications may need the CA imported manually, and will not probe the /usr/local/share/ca-certificates directory themselves. For more information, see our tutorial on our Step-by-Step Guide: Adding Certificates to Ubuntu’s Trusted Authorities tutorial, which includes instructions for adding a trusted authority to Mozilla Firefox.
How to Sign a CSR
A CSR (Certificate Signing Request) comes in the form of a .req file. This is generated by a client or server which wants to use the certificate authority to obtain a certificate that can verify its identity. Let’s say we receive a .req file from a server which we want to sign a certificate for. Here would be the process:
- We will run the
easyrsascript to sign the CSR. Specify theimport-reqoption followed by the name of the file, and the common name you wish to use for identifying the server:$ ./easyrsa import-req example-server.req example-server
- Next, we sign the request with the
sign-reqoption. We also need to specify the type of request, which can either beclient,server, orca. In this example, we are signing the CSR for a server:$ ./easyrsa sign-req server example-server
The final result is a example-server.crt file. This file, along with the ca.crt file from the first section, will need to be given to the server. Then, that server can show any connecting clients that it can be trusted, as it possesses a signed certificate from a mutual certificate authority server.
Closing Thoughts
In this tutorial, we saw how to configure a Certificate Authority on an Ubuntu or Debian Linux system. This involved using the Easy-RSA software to initialize the system as a Certificate Authority. Then we generated a ca.crt file, which must be distributed to other servers and clients in our network. We also learned how to sign a certificate signing request, which grants a certificate to a server or client and verifies them as legitimate to other connecting systems that trust the same CA.