Changing your hostname on Ubuntu 26.04 is a fundamental system administration task that identifies your machine on a network. Whether you’re setting up a new server, renaming a workstation, or organizing your home lab, this guide covers all the methods to hostname change Ubuntu 26.04 systems effectively, from quick command-line solutions to GUI approaches.
Table of Contents
In this tutorial you will learn:
- How to change hostname using hostnamectl (recommended)
- How to change hostname via GNOME Settings GUI
- The difference between static, pretty, and transient hostnames
- Hostname naming conventions and best practices
Software Requirements
| Category | Requirements, Conventions or Software Version Used |
|---|---|
| System | Ubuntu 26.04 Resolute Raccoon |
| Software | systemd (pre-installed), hostnamectl utility |
| Other | Privileged access to your Linux system as root or via the sudo command. |
| Conventions | # – requires given linux commands to be executed with root privileges either directly as a root user or by use of sudo command$ – requires given linux commands to be executed as a regular non-privileged user |
hostnamectl set-hostname new-hostname to change your hostname instantly.
| Step | Command/Action |
|---|---|
| 1. Check current hostname | hostnamectl |
| 2. Set new hostname | sudo hostnamectl set-hostname new-hostname |
| 3. Update /etc/hosts | sudo nano /etc/hosts |
| 4. Verify change | hostname |
Using hostnamectl to Change Hostname on Ubuntu 26.04
The hostnamectl command is the recommended method to hostname change Ubuntu 26.04 systems. This systemd utility handles all hostname types and persists changes automatically across reboots.
Understanding Hostname Types
Before changing your hostname, it’s helpful to understand that Linux systems maintain three different hostname types:
- Static hostname: The traditional hostname stored in
/etc/hostname. This is the main system identifier. - Pretty hostname: A free-form UTF-8 hostname for presentation to users (can include spaces and special characters).
- Transient hostname: A dynamic hostname assigned by DHCP or mDNS at runtime.
Step-by-Step Instructions
- Check your current hostname: First, view your existing hostname configuration by running:
$ hostnamectl
This displays all three hostname types along with other system information like machine ID, boot ID, operating system, and kernel version. For example, if your current hostname is
linuxconfig, you’ll see that in the Static hostname field.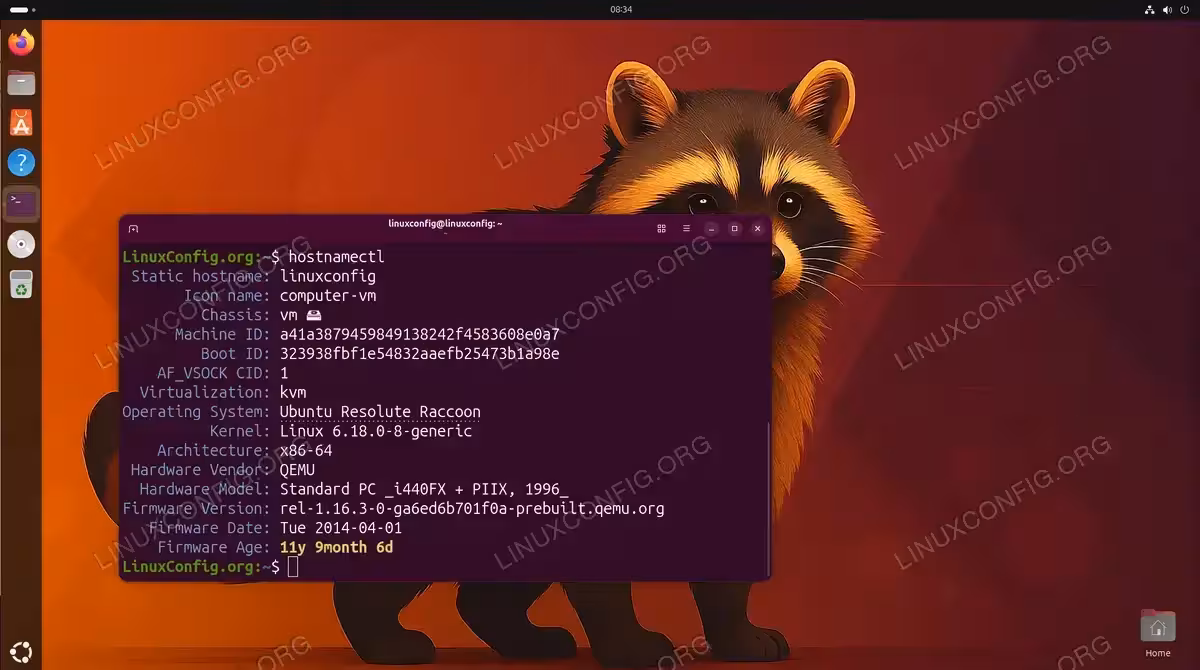
Using hostnamectl to view current hostname configuration before making changes - Set the new hostname: Use the
set-hostnamesubcommand to change your hostname:$ sudo hostnamectl set-hostname webserver
Replace
webserverwith your desired hostname. This command updates the static hostname immediately without requiring a reboot. - Update the /etc/hosts file: Although
hostnamectlupdates/etc/hostname, you should also update/etc/hoststo prevent potential issues with local hostname resolution:$ sudo nano /etc/hosts
Locate the line containing your old hostname (e.g.,
linuxconfig) and replace it with the new one. The file should look similar to:127.0.0.1 localhost 127.0.1.1 webserver
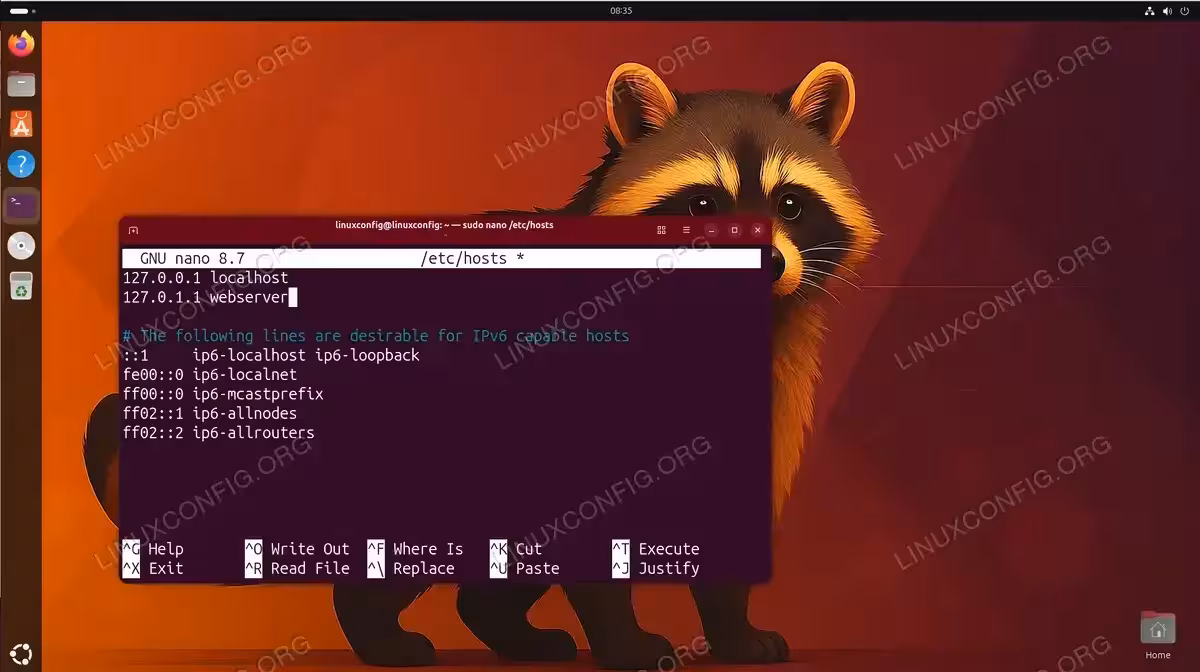
Update the /etc/hosts file to map 127.0.1.1 to your new hostname - Verify the change: Confirm your new hostname is active:
$ hostnamectl

IMPORTANT
The hostname change takes effect immediately for new shell sessions. You may need to open a new terminal or log out and back in to see the updated hostname in your shell prompt.
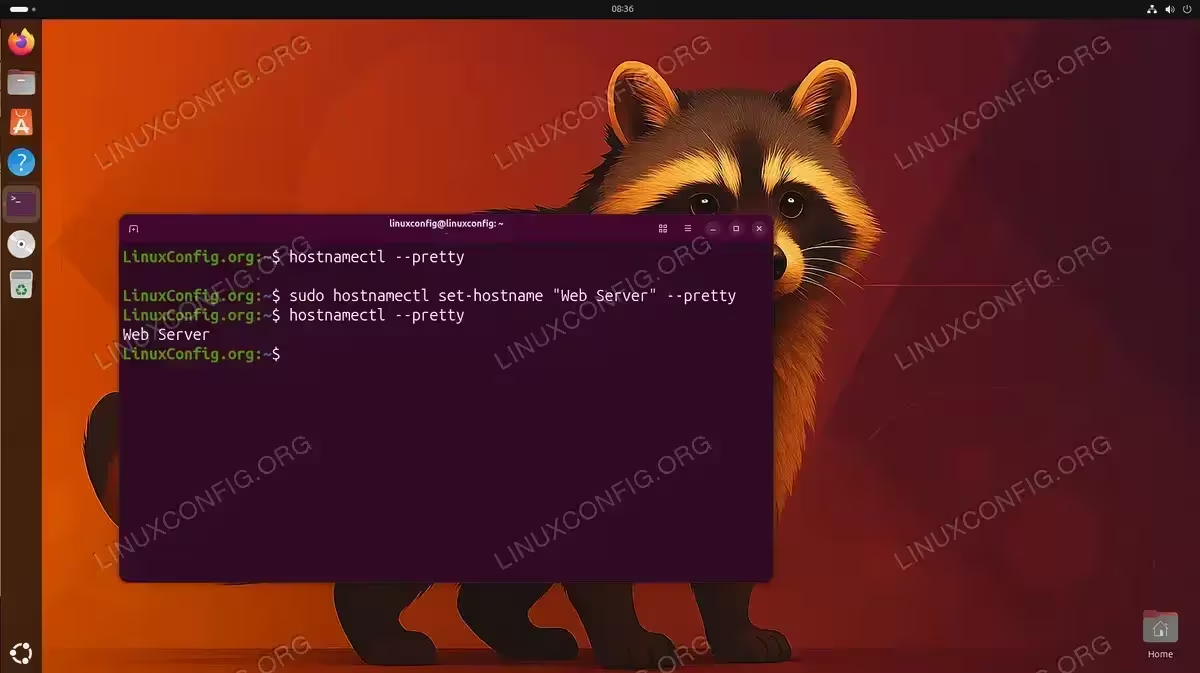
Setting a Pretty Hostname
If you want a human-friendly hostname with spaces or special characters, use the --pretty flag:
$ sudo hostnamectl set-hostname "Web Server" --pretty
This sets the pretty hostname while keeping the static hostname unchanged. You can view it with:
$ hostnamectl --pretty
GUI Method for Ubuntu Desktop
Ubuntu 26.04 desktop users can change the hostname through GNOME Settings without touching the command line.
- Open Settings: Click the system menu in the top-right corner and select “Settings,” or search for “Settings” in the Activities overview.
- Navigate to System: In the Settings window, click on “System” in the left sidebar, then select “About.”
- Change Device Name: Click on “Device Name” to edit it. Enter your new hostname and confirm the change.
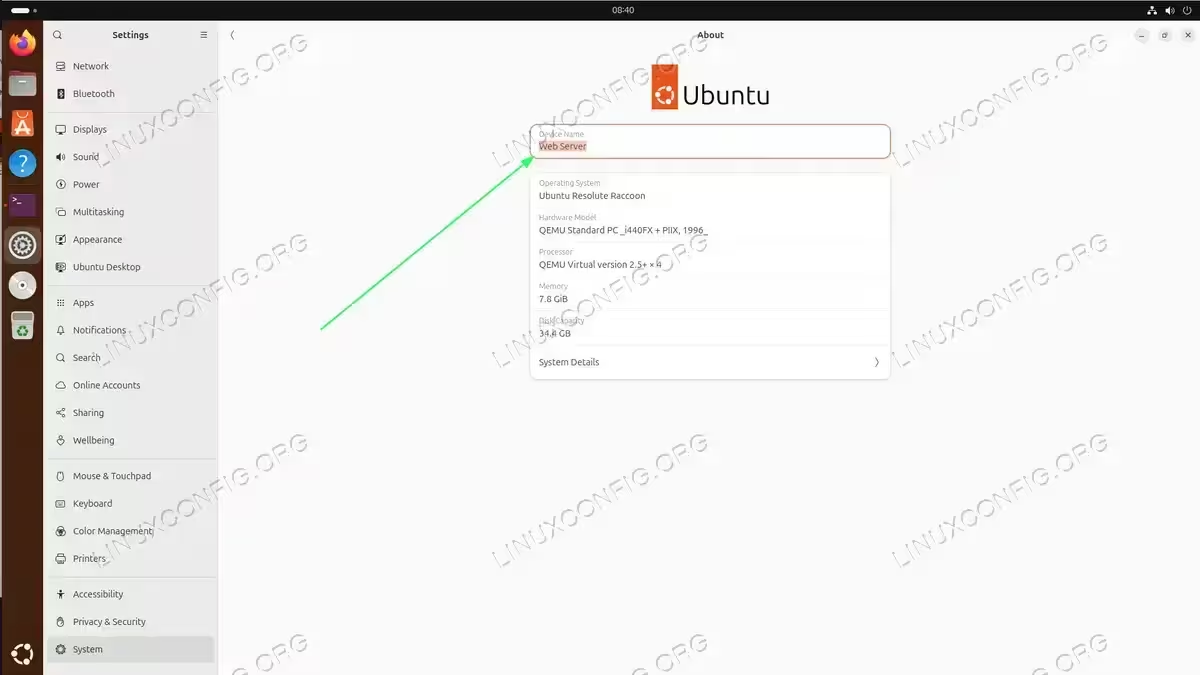
The GUI method sets the pretty hostname, which GNOME displays as the device name. For comprehensive hostname configuration including static hostname changes, use the command-line methods described above.
Hostname Naming Conventions
When choosing a new hostname, follow these guidelines to avoid issues:
| Rule | Description | Example |
|---|---|---|
| Allowed characters | Use only lowercase letters (a-z), numbers (0-9), and hyphens (-) | web-server-01 ✓ |
| Start character | Must start with a letter, not a number or hyphen | server1 ✓ / 1server ✗ |
| End character | Must not end with a hyphen | web-server ✓ / web-server- ✗ |
| Maximum length | Keep under 63 characters (DNS limit) | webserver ✓ |
| No underscores | Avoid underscores. Violates RFC 1123 and may cause DNS issues | web-server ✓ / web_server ✗ |
Conclusion
You have learned how to hostname change Ubuntu 26.04 systems using the recommended hostnamectl command and the GNOME Settings GUI for desktop users. Regardless of which method you choose, remember to update both /etc/hostname and /etc/hosts to ensure consistent hostname resolution across your system.
Frequently Asked Questions
- Do I need to reboot after changing the hostname on Ubuntu 26.04? No, a reboot is not required when using
hostnamectl set-hostname. The change takes effect immediately. However, you may need to open a new terminal session or log out and back in to see the updated hostname in your shell prompt. Some running services may need to be restarted to pick up the new hostname. - What is the difference between static, pretty, and transient hostnames? The static hostname is your permanent system identifier stored in
/etc/hostname. The pretty hostname is a descriptive name that can include spaces and special characters, used for display purposes. The transient hostname is temporary and can be set dynamically by DHCP or network services. For most uses, you only need to worry about the static hostname. - Why should I update /etc/hosts after changing the hostname? The
/etc/hostsfile maps hostnames to IP addresses for local resolution. If you don’t update it, some applications may fail to resolve your hostname locally, potentially causing delays or errors. Always update the 127.0.1.1 line to match your new hostname. - Can I use special characters or spaces in my hostname? The static hostname should only contain lowercase letters, numbers, and hyphens. However, you can set a “pretty hostname” with spaces and special characters using
hostnamectl set-hostname "My Server" --pretty. The pretty hostname is used for display purposes only and doesn’t affect network identification. - How do I change the hostname on Ubuntu Server without a GUI? Use the command
sudo hostnamectl set-hostname webserverfollowed by editing/etc/hoststo update the 127.0.1.1 entry. This is the same method used on desktop systems and doesn’t require any graphical interface.