Managing multiple terminal sessions efficiently is essential for any Linux administrator or developer. Tmux, short for terminal multiplexer, lets you run and organize multiple terminal sessions within a single window on Ubuntu 26.04. Whether you are monitoring logs, editing files, and running commands simultaneously, or keeping remote SSH sessions alive after disconnecting, tmux is an indispensable tool. In this guide, you will learn how to use tmux on Ubuntu 26.04 Resolute Raccoon, from basic session management to advanced pane layouts and custom configuration.
- → Installing Tmux on Ubuntu 26.04
- → Understanding Tmux Concepts
- → Working with Tmux Sessions
- → Managing Windows Inside Tmux
- → Splitting and Navigating Panes
- → Essential Tmux Key Bindings
- → Customizing Tmux Configuration
- → Using Tmux for Persistent Remote SSH Sessions
- → Conclusion
- → Frequently Asked Questions
- How to install tmux on Ubuntu 26.04
- The relationship between sessions, windows, and panes
- How to create, detach, and reattach tmux sessions
- How to split your terminal into multiple panes
- Essential tmux key bindings for daily use
- How to customize tmux with a configuration file
- How to keep remote SSH sessions alive with tmux
Software Requirements
| Category | Requirements, Conventions or Software Version Used |
|---|---|
| System | Ubuntu 26.04 Resolute Raccoon |
| Software | tmux |
| Other | Privileged access to your Linux system as root or via the sudo command. |
| Conventions | # – requires given linux commands to be executed with root privileges either directly as a root user or by use of sudo command$ – requires given linux commands to be executed as a regular non-privileged user |
| Step | Command/Action |
|---|---|
| 1. Install tmux | $ sudo apt install tmux |
| 2. Start a named session | $ tmux new -s linuxconf |
| 3. Split pane vertically | Ctrl+b → % |
| 4. Detach and reattach | Ctrl+b → d then $ tmux attach -t linuxconf |
Installing Tmux on Ubuntu 26.04
Tmux is available in the default Ubuntu 26.04 repositories, so installation is straightforward. Begin by updating your package index and installing the tmux package:
$ sudo apt update
$ sudo apt install tmux
Once the installation completes, verify it by checking the installed version:
$ tmux -V
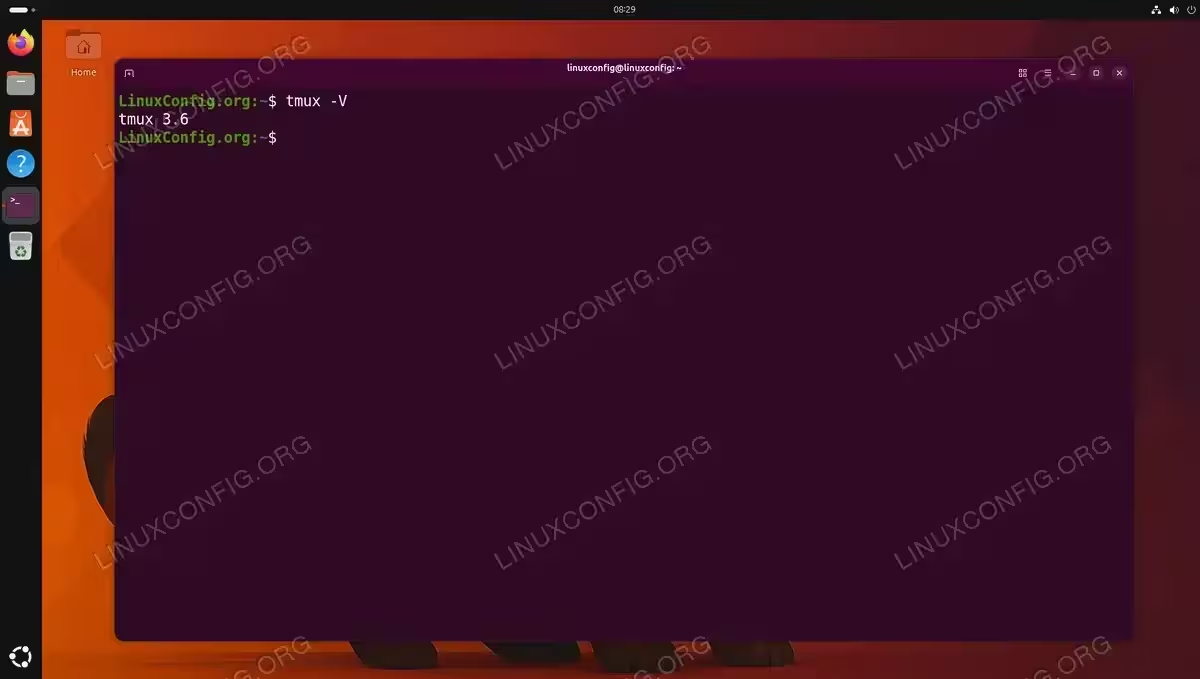
With tmux installed, you are ready to start using it. The following sections walk you through every core concept, beginning with how tmux organizes your terminal workspace.
Understanding Tmux Concepts
Before diving into commands, it is important to understand how tmux organizes your workspace. Tmux uses a three-level hierarchy:
Sessions are the top-level containers. Each session is an independent workspace that can contain one or more windows. Sessions persist in the background even when you disconnect, which is what makes tmux so powerful for remote work.
Windows exist inside sessions and behave like tabs in a web browser. Each window occupies the full terminal screen and has its own shell. You can switch between windows quickly using keyboard shortcuts.
Panes are subdivisions within a single window. You can split a window horizontally or vertically to display multiple shells side by side. This is ideal when you need to monitor output in one pane while typing commands in another.
All tmux interactions use a prefix key, which is Ctrl+b by default. You press the prefix combination first, release it, and then press the action key. This prefix-based approach ensures that tmux key bindings do not conflict with your normal shell shortcuts.
Working with Tmux Sessions
Sessions are the foundation of tmux. You will use them constantly to organize different tasks and keep work running in the background. Here are the essential session operations.
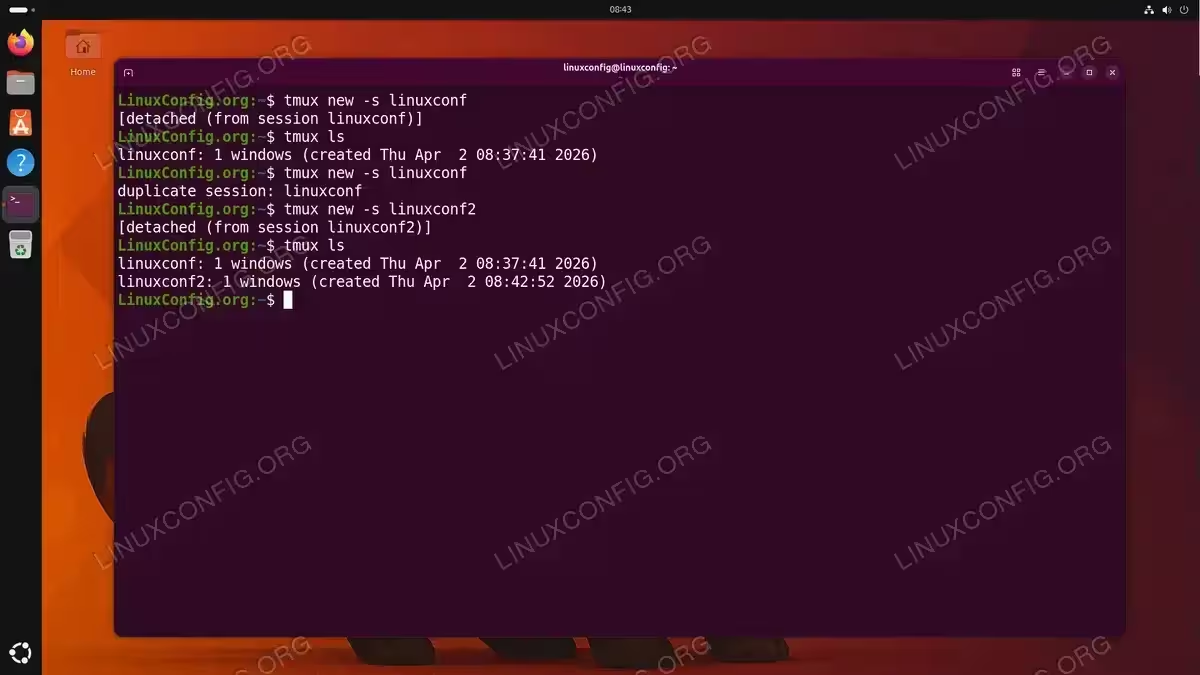
Creating a New Session
To start a new tmux session with a descriptive name, use the new command with the -s flag:
$ tmux new -s linuxconf
This creates and immediately attaches you to a session named linuxconf. Naming your sessions makes it much easier to identify and switch between them later. If you omit the -s flag, tmux assigns a numeric name starting from 0.
Detaching from a Session
To leave a session running in the background without closing it, detach by pressing:
Ctrl+b → d
This is a two-step action: press Ctrl+b together, release both keys, then press d on its own. This pattern applies to all tmux key bindings throughout this guide. The Ctrl+b combination is called the prefix key, and it tells tmux that the next keystroke is a command rather than regular input.
You will return to your normal shell prompt, but the tmux session continues to run. Any processes started inside the session keep executing.
Listing Sessions
To see all active tmux sessions, run:
$ tmux ls
This displays each session by name along with the number of windows and the creation time.
Reattaching to a Session
To reconnect to a detached session, use the attach command with -t to specify the target session:
$ tmux attach -t linuxconf
If you only have one session running, you can simply use tmux attach without specifying a name.
Renaming a Session
You can rename an existing session from within tmux by pressing:
Ctrl+b → $
Tmux prompts you to type a new name at the bottom of the screen. Alternatively, rename from the command line:
$ tmux rename-session -t old_name new_name
Killing a Session
To permanently close a session and all its windows and panes, use:
$ tmux kill-session -t linuxconf
Managing Windows Inside Tmux
Windows in tmux function like tabs, allowing you to run separate tasks within the same session. The status bar at the bottom of the screen shows all windows in the current session with the active one highlighted.
Creating a New Window
While inside a tmux session, create a new window by pressing:
Ctrl+b → c
The new window opens with a fresh shell, and the status bar updates to show the additional window.
Switching Between Windows
There are several ways to navigate between windows:
Ctrl+b → n
Moves to the next window in the list.
Ctrl+b → p
Moves to the previous window.
Ctrl+b → 0
Jumps directly to window number 0. Replace 0 with any window number to switch to it.
Ctrl+b → w
Displays an interactive list of all windows. Use arrow keys to select and press Enter to switch.
Renaming a Window
Give your windows meaningful names by pressing:
Ctrl+b → ,
Type the new name and press Enter. This makes it easy to identify each window in the status bar.
Closing a Window
Close the current window by simply exiting the shell inside it:
$ exit
Alternatively, press Ctrl+b → & and confirm with y to kill the window and all its panes.

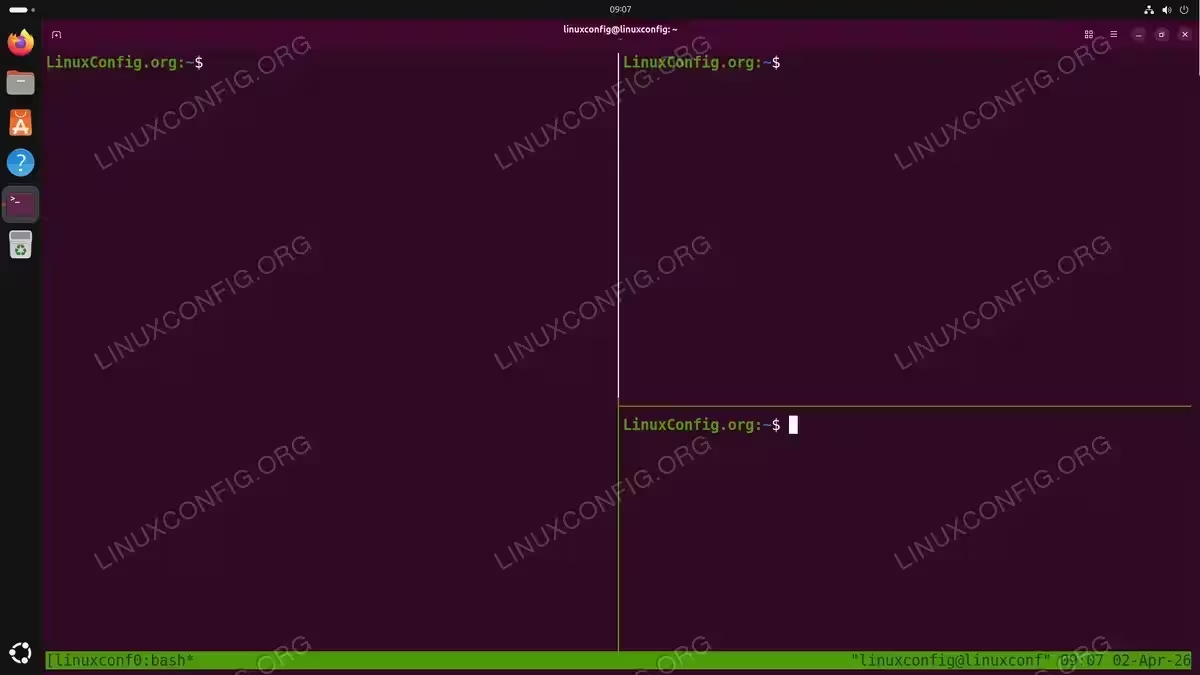
Splitting and Navigating Panes
Panes let you view multiple shells simultaneously within a single window. This is one of the most useful features of tmux on Ubuntu 26.04, as it eliminates the need to switch between windows for common side-by-side tasks.
Splitting Panes
To split the current pane vertically (left and right), press:
Ctrl+b → %
To split the current pane horizontally (top and bottom), press:
Ctrl+b → "
You can continue splitting panes further to create complex layouts. Each new pane runs its own independent shell.
Navigating Between Panes
Move the cursor between panes using the prefix key followed by an arrow key:
Ctrl+b → Left Arrow   (move left)
Ctrl+b → Right Arrow  (move right)
Ctrl+b → Up Arrow     (move up)
Ctrl+b → Down Arrow   (move down)
The active pane is indicated by a highlighted border.
Resizing Panes
To resize a pane, hold Ctrl+b and then press an arrow key while holding Ctrl:
Ctrl+b → Ctrl+Left Arrow   (shrink left)
Ctrl+b → Ctrl+Right Arrow  (expand right)
Ctrl+b → Ctrl+Up Arrow     (expand up)
Ctrl+b → Ctrl+Down Arrow   (shrink down)
Repeat the arrow key press to continue resizing in that direction.
Zooming a Pane
Sometimes you need to temporarily expand a pane to full screen. Toggle zoom with:
Ctrl+b → z
Press the same combination again to restore the pane to its original size within the layout.
Closing a Pane
Close the active pane by typing exit in its shell or pressing:
Ctrl+b → x
Tmux asks for confirmation before closing the pane.
Essential Tmux Key Bindings
The following table summarizes the most commonly used tmux key bindings. All shortcuts begin with the prefix Ctrl+b.
| Key Binding | Action |
|---|---|
Ctrl+b → d |
Detach from the current session |
Ctrl+b → c |
Create a new window |
Ctrl+b → n |
Switch to the next window |
Ctrl+b → p |
Switch to the previous window |
Ctrl+b → w |
List all windows interactively |
Ctrl+b → , |
Rename the current window |
Ctrl+b → % |
Split pane vertically |
Ctrl+b → " |
Split pane horizontally |
Ctrl+b → Arrow keys |
Navigate between panes |
Ctrl+b → z |
Toggle pane zoom (fullscreen) |
Ctrl+b → x |
Close the current pane |
Ctrl+b → & |
Close the current window |
Ctrl+b → $ |
Rename the current session |
Ctrl+b → [ |
Enter scroll/copy mode |
Ctrl+b → ? |
List all key bindings |
TIP
If you ever forget a key binding, press Ctrl+b → ? inside tmux to display the full list of available shortcuts.
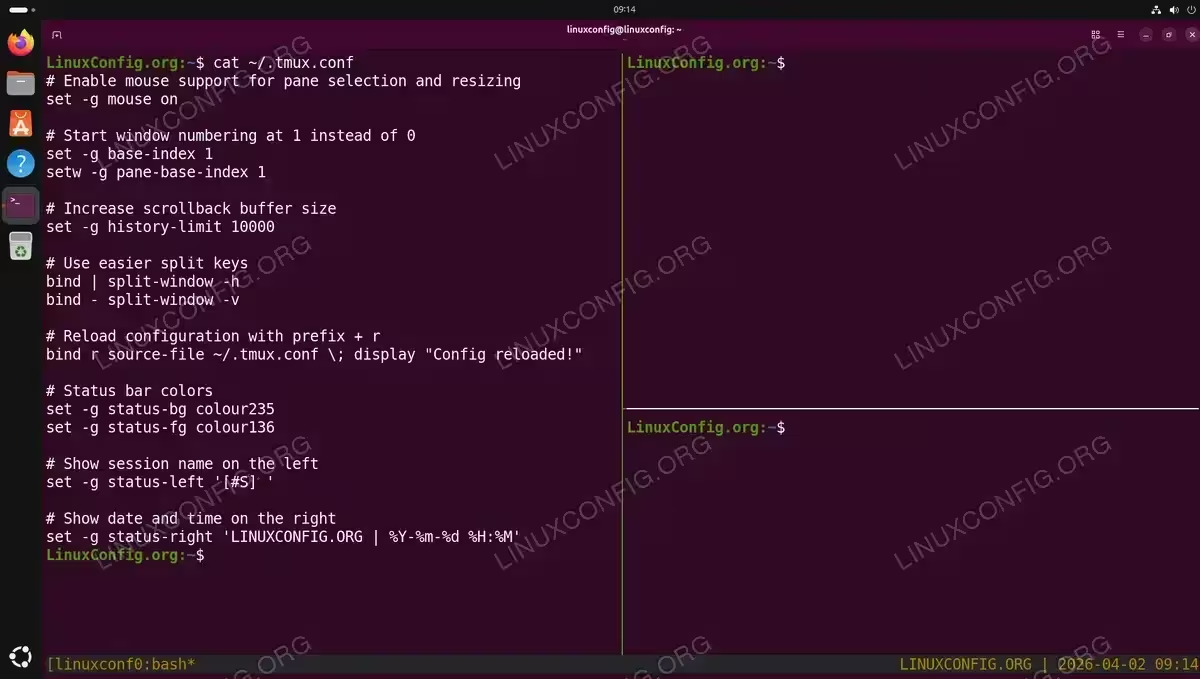
Customizing Tmux Configuration
Tmux reads its configuration from ~/.tmux.conf at startup. Creating this file allows you to customize the behavior, appearance, and key bindings to match your workflow.
Creating a Basic Configuration File
Open a new configuration file with your preferred text editor:
$ nano ~/.tmux.conf
Add the following commonly used settings:
# Enable mouse support for pane selection and resizing
set -g mouse on

# Start window numbering at 1 instead of 0
set -g base-index 1
setw -g pane-base-index 1

# Increase scrollback buffer size
set -g history-limit 10000

# Use easier split keys
bind | split-window -h
bind - split-window -v

# Reload configuration with prefix + r
bind r source-file ~/.tmux.conf \; display "Config reloaded!"
IMPORTANT
Enabling mouse mode (set -g mouse on) causes tmux to capture mouse events, which may prevent right-click paste from working in your terminal. To paste while mouse mode is active, hold Shift and then right-click to access your terminal emulator’s native paste function.
Save the file and either restart tmux or reload the configuration by running the following command from within a tmux pane:
$ tmux source-file ~/.tmux.conf
Alternatively, you can reload directly from tmux command mode by pressing Ctrl+b → : and then typing:
source-file ~/.tmux.conf
The reload binding included in the configuration above lets you reload future changes simply by pressing Ctrl+b → r.

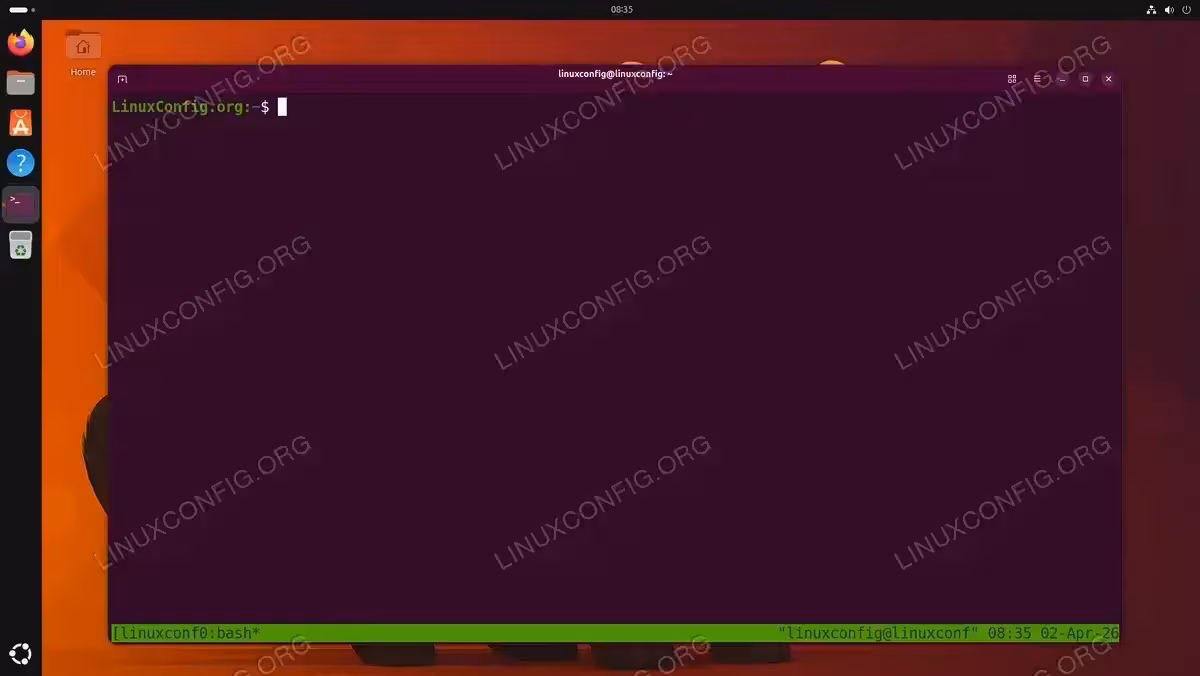
Customizing the Status Bar
The tmux status bar at the bottom of the screen is fully configurable. Add these lines to ~/.tmux.conf to change its appearance:
# Status bar colors
set -g status-bg colour235
set -g status-fg colour136

# Center the window list in the status bar
set -g status-justify centre

# Show session name on the left
set -g status-left '[#S] '

# Show custom label and date/time on the right
set -g status-right 'LINUXCONFIG.ORG | %Y-%m-%d %H:%M'
These settings give you a clean, informative status bar that displays the session name on the left, a centered window list, and your custom label alongside the date and time on the right.
Using Tmux for Persistent Remote SSH Sessions
One of the most practical applications of tmux on Ubuntu 26.04 is maintaining persistent sessions on remote servers. When you connect to a server via SSH, a network interruption or closing your laptop normally terminates all running processes. Tmux solves this problem by keeping your session alive on the server regardless of your connection status.
The Basic Workflow
- Connect to your remote server via SSH:
$ ssh linuxconfig@192.168.1.100
Establish your SSH server connection as you normally would.
- Start a named tmux session on the remote server:
$ tmux new -s remote
Create a session with a descriptive name so you can easily find it later.
- Run your long-running tasks inside the tmux session:
Execute any commands that need to persist, such as system updates, file transfers, compilation processes, or monitoring tools. - Detach from the session when you are done working:
Ctrl+b → d
The session and all its processes continue running on the remote server.
- Disconnect from SSH:
$ exit
You can safely close your SSH connection. Even if the connection drops unexpectedly, the tmux session survives.
- Reconnect later and reattach:
$ ssh linuxconfig@192.168.1.100
$ tmux attach -t remote
Your session is exactly as you left it, with all processes and output intact.
[IMAGE PLACEHOLDER: Screenshot showing tmux reattached after SSH reconnection with running processes still active]
TIP
If you frequently connect to the same server, you can combine SSH and tmux in a single command: ssh linuxconfig@192.168.1.100 -t 'tmux attach -t remote || tmux new -s remote'. This attaches to an existing session if one exists, or creates a new one otherwise.
Conclusion
Tmux is a powerful terminal multiplexer that significantly improves your command-line productivity on Ubuntu 26.04. You have learned how to install tmux, create and manage sessions, organize your workspace with windows and panes, and customize the tool to fit your preferences. Moreover, by combining tmux with SSH, you can ensure that your remote sessions survive network interruptions and disconnections. As you build familiarity with the key bindings, tmux becomes second nature and an essential part of your daily Linux workflow.
For additional features and advanced configuration options, consult the official tmux wiki on GitHub.
Frequently Asked Questions
- How do I scroll up in a tmux pane? Press
Ctrl+b → [to enter copy/scroll mode. Then use the arrow keys or Page Up/Page Down to scroll through the buffer. Pressqto exit scroll mode. Alternatively, if you have mouse support enabled in your~/.tmux.conf, you can scroll with your mouse wheel. - Can I run tmux inside tmux (nested sessions)? Yes, though it requires care. The inner tmux session needs a different prefix key, or you must send the prefix to the inner session by pressing the outer prefix twice. For example, with the default prefix, press
Ctrl+b → Ctrl+bfollowed by the action key to control the inner session. - What happens to my tmux sessions if the server reboots? Tmux sessions do not survive a system reboot by default. All sessions and their contents are lost when the server shuts down. If you need session persistence across reboots, consider using the tmux-resurrect plugin, which can save and restore session layouts and running programs.
- How do I copy and paste text in tmux? Press
Ctrl+b → [to enter copy mode, navigate to the start of the text, pressSpaceto begin selection, move to the end, and pressEnterto copy. Then pressCtrl+b → ]to paste. With mouse mode enabled, you can also select text with the mouse while holdingShiftto use your terminal emulator’s native clipboard. - What is the difference between tmux and screen? Both are terminal multiplexers, but tmux offers a more modern feature set. Tmux provides better pane management, a scriptable command interface, more flexible key bindings, and active development. GNU Screen is older and still functional, but tmux is generally recommended for new users on Ubuntu 26.04.