Objective
The objective of this guide is to install Skype, the video chat and voice calls application on Ubuntu 18.04 Bionic Beaver Linux
Operating System and Software Versions
- Operating System: – Ubuntu 18.04 Bionic Beaver 64-bit
Requirements
Privileged administrator/root access is required to install this software.
Conventions
- # – requires given linux commands to be executed with root privileges either directly as a root user or by use of
sudocommand - $ – requires given linux commands to be executed as a regular non-privileged user
Other Versions of this Tutorial
Ubuntu 20.04 (Focal Fossa)
For more information about focal fossa, see our installation guide.
Instructions
Snap Skype Installation
Using Snaps you can install Skype with a single command. Open up terminal and enter:
$ sudo snap install skype --classic
INFO Waiting for restart...
skype 8.15.0.4 from 'skype' installed
Skype installation from Official package
Install prerequisites
The simplest way to install an external package, like in this case Skype, is by use of the gdebi command. Open up terminal and install the gdebi package using the following linux command:
$ sudo apt install gdebi-core
Download Skype
Next, use the wget command to download the Skype package:
$ wget https://repo.skype.com/latest/skypeforlinux-64.deb
Install Skype
To install the Skype package on Ubuntu 18.04 Bionic Beaver using the gdebi command is simple as:
$ sudo gdebi skypeforlinux-64.deb
When asked: Do you want to install the software package? [y/N] answer y.
Start Skype
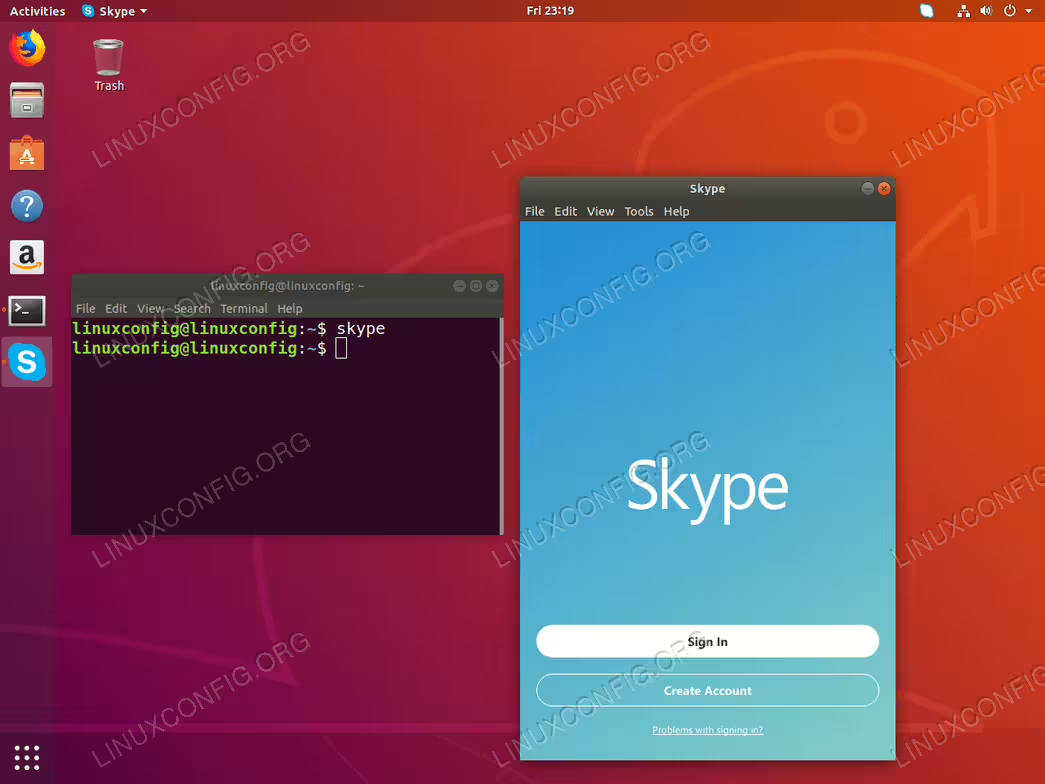
Regardless of your graphical user interface you can always start Skype from the terminal. Depending on which Skype installation method you have performed, your can start skype by executing:
$ skype
OR
$ skypeforlinux
Alternatively, GNOME users can click on Activities and search for skype.