An intrusion detection system (IDS) is an important security tool for system administrators. Its purpose is to notify us whenever it detects that a potential intrusion has occurred. When an attacker compromises a system, one of the first things they will usually do is attempt to change file permissions, attempt to escalate to the root user account, or start modifying system files. The IDS is configured to monitor for these changes and make us aware of them if they occur.
Without an intrusion detection system, it can be difficult to recognize some of the symptoms that indicate a user has illicitly gained access to the system. In this tutorial, we will go over the steps to install and configure AIDE (Advanced Intrusion Detection Environment), which is a free, host based IDS. We will see how AIDE works, and how we can leverage it to keep on top of our system’s security. Let’s get started!
In this tutorial you will learn:
- How to install AIDE on major linux distros
- How to initialize AIDE
- How to check system files with AIDE
- How to configure cron to run AIDE on a schedule
- How to update the AIDE database
| Category | Requirements, Conventions or Software Version Used |
|---|---|
| System | Any Linux system |
| Software | AIDE |
| Other | Privileged access to your Linux system as root or via the sudo command. |
| Conventions |
# – requires given linux commands to be executed with root privileges either directly as a root user or by use of sudo command$ – requires given linux commands to be executed as a regular non-privileged user |
AIDE Installation
An Intrusion Detection System (such as AIDE) will only try to detect intruders, but does not actively work to block their access in the first place. Contrast this to an Intrusion Prevention System (IPS) which actively works to block threats and screen user access. It is recommended to employ both in your setup, as well as additional hardening measures.
AIDE is available for all major linux distributions. The command to install it will vary by system, but after installation, the configuration will be the same process regardless of which distro you are running.
You can use the appropriate command below to install AIDE with your system’s package manager.
To install AIDE on Ubuntu, Debian, and Linux Mint:
$ sudo apt install aide
To install AIDE on Fedora, CentOS, AlmaLinux, and Red Hat:
$ sudo dnf install aide
To install AIDE on Arch Linux and Manjaro, it must be installed via the Arch User Repository:
$ git clone https://aur.archlinux.org/aide.git
$ cd aide
$ makepkg -si
You will be asked during installation if you would like to enter settings for a mail server configuration. This is so that AIDE can email a system administrator in the event that it detects an intrusion.
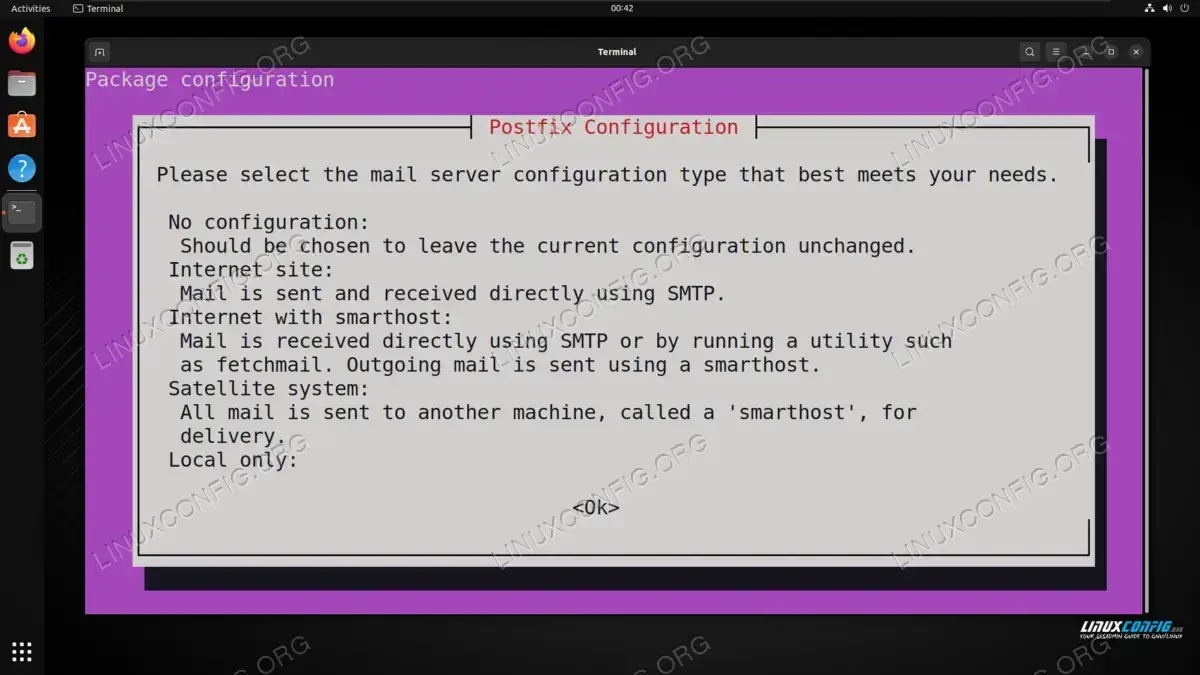
This can always be set up later, if you do not have the information handy. If you do not want to apply any configuration, simply choose ‘No configuration’ and proceed with the installation. Otherwise, select the option that applies to your setup and enter all of the mail server information for AIDE to use.
After installation, we can proceed with editing the AIDE configuration below.
Configuring and Running AIDE
AIDE works by storing the checksum values for lots of important system files in a database. The files’ checksums are then regularly checked to see if there has been any changes. If AIDE detects a new checksum, it will alert the system administrator.
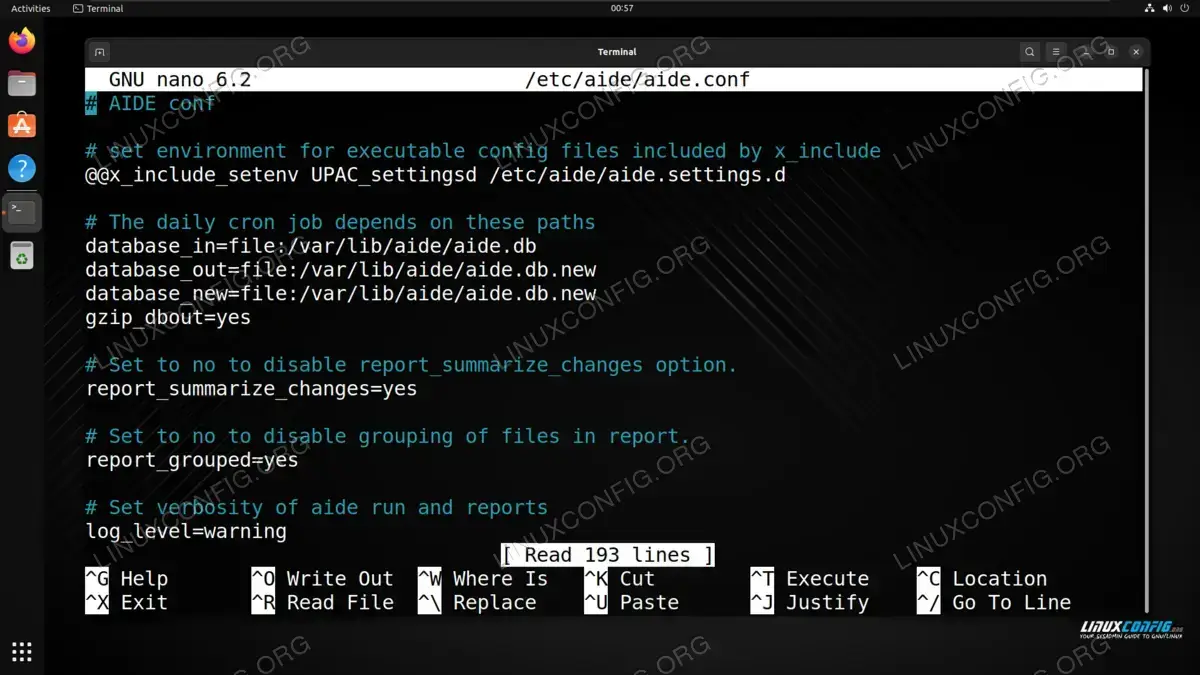
The configuration file for AIDE is stored at /etc/aide/aide.conf. This is not only where we can change program settings, but also add additional files for AIDE to monitor, in case we want it to check on files beyond the defaults.
- Open the file in nano or your preferred text editor to make any desired changes:
$ sudo nano /etc/aide/aide.conf
Accessing the AIDE configuration file - The next thing we need to do is generate an initial database for AIDE. This will store the checksums for all of the files we have configured it to monitor, in addition to the default files from the settings. Use the
--configoption and either specify the default config file or a different one if you made a copy, as well as the--init(initialize) option:$ sudo aide --config /etc/aide/aide.conf --init
Depending on your system, this could take a while. Generating checksums is a resource intensive process.
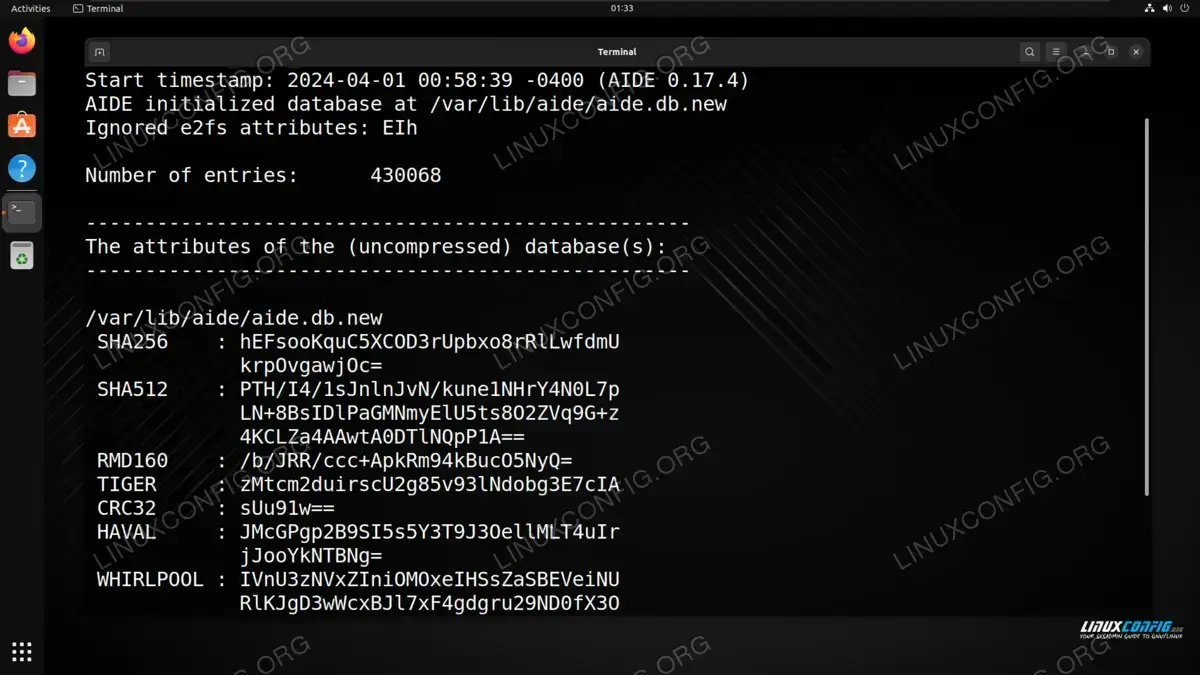
AIDE has finished building the initial database for file checksums - AIDE should indicate the location of the new database in its output:
AIDE initialized database at /var/lib/aide/aide.db.new
The
.newat the end of the name will need to be removed for AIDE to begin using this databaes as a reference:$ sudo mv /var/lib/aide/aide.db.new /var/lib/aide/aide.db
Note that this default location can be changed inside of the configuration file, if you desire.
- To trigger a check with AIDE, run it with the
--checkoption.$ sudo aide --check --config /etc/aide/aide.conf
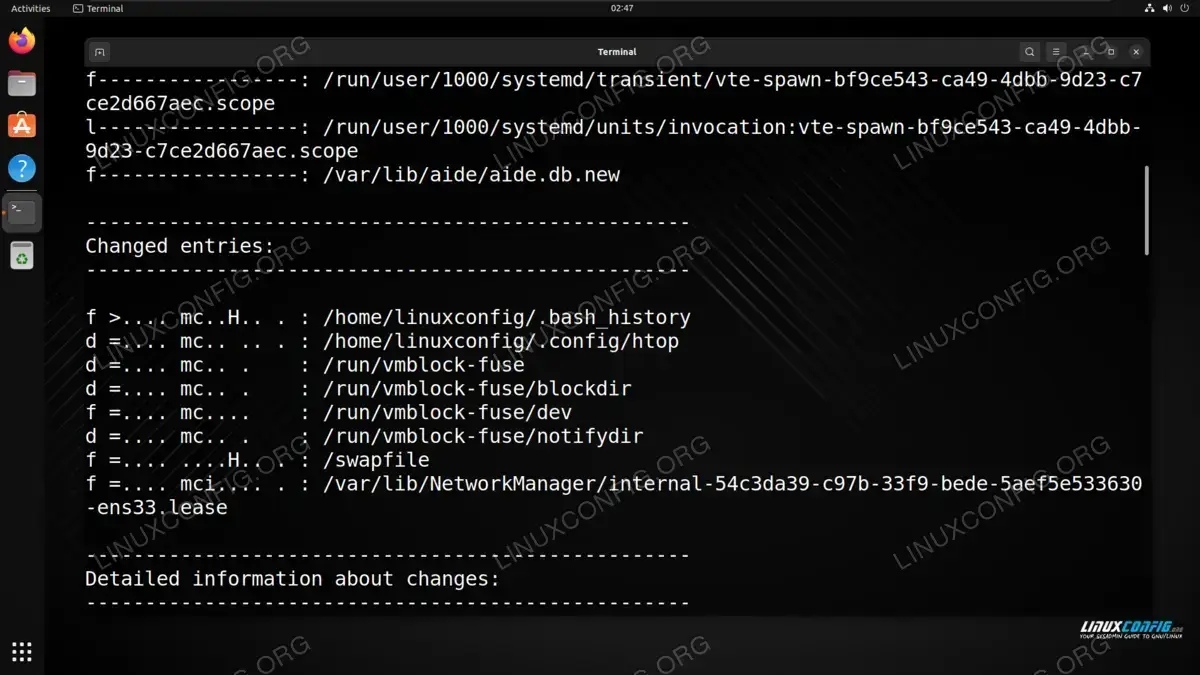
Check results from AIDE
- Aside from doing manual checks with the command above, we can also set cron to run the checks at a predetermined interval (nightly, weekly, etc.).
$ sudo crontab -e
The following line in cron would instruct AIDE to run a check every night at 11PM:
0 11 * * * aide --check --config /etc/aide/aide.conf
- Whenever you make edits to system files, or especially after running a system update or installing new programs, it is necessary to rescan all important files and update their checksums in the AIDE database. Otherwise, AIDE will be checking the files against old checksum data, and alert you that many files have changed. This would be a false positive since the system administrators themselves were responsible for changing the files. Run AIDE with the
--updateoption to generate new checksums for the database:$ sudo aide --update --config /etc/aide/aide.conf
Closing Thoughts
In this tutorial, we saw how to set up an intrusion detection system using AIDE on a Linux system. This IDS allows us to monitor for changes on important system files. Unintended changes can indicate that an attacker has compromised the system or that a malicious program is modifying files. AIDE alerts system administrators to these problems, and then it is up to them to take further measures in securing the system.