This tutorial demonstrates how to install Kubernetes on Ubuntu 26.04 using kubeadm, the official cluster bootstrapping tool. Kubernetes is the industry-standard container orchestration platform that automates deployment, scaling, and management of containerized applications. By following this guide, you will set up a fully functional single-node Kubernetes cluster suitable for development, testing, and learning purposes.
Table of Contents
In this tutorial you will learn:
- How to prepare Ubuntu 26.04 for Kubernetes installation
- How to install containerd as the container runtime
- How to install kubeadm, kubelet, and kubectl
- How to initialize a single-node Kubernetes cluster
- How to deploy a pod network for cluster communication
- How to verify your Kubernetes installation
Software Requirements
| Category | Requirements, Conventions or Software Version Used |
|---|---|
| System | Ubuntu 26.04 Resolute Raccoon |
| Software | kubeadm, kubelet, kubectl, containerd |
| Other | Privileged access to your Linux system as root or via the sudo command. Minimum 2 GB RAM and 2 CPU cores recommended. |
| Conventions | # – requires given linux commands to be executed with root privileges either directly as a root user or by use of sudo command$ – requires given linux commands to be executed as a regular non-privileged user |
| Step | Command/Action |
|---|---|
| 1. Install containerd | sudo apt install containerd |
| 2. Add Kubernetes repository | curl -fsSL https://pkgs.k8s.io/... | sudo gpg --dearmor -o ... |
| 3. Install Kubernetes components | sudo apt install kubeadm kubelet kubectl |
| 4. Initialize cluster | sudo kubeadm init --pod-network-cidr=10.244.0.0/16 |
Prerequisites for Kubernetes Install on Ubuntu 26.04
Before you install Kubernetes on Ubuntu 26.04, you must configure several system settings. Kubernetes requires swap to be disabled and specific kernel modules to be loaded for proper cluster operation.
- Disable swap memory: Kubernetes requires swap to be disabled for the kubelet to function correctly
$ sudo swapoff -a
This disables swap immediately.
IMPORTANT
To make this permanent, edit/etc/fstaband comment out any line containing “swap” by adding a#at the beginning of that line. Without this step, swap will be re-enabled after reboot and Kubernetes will fail to start. - Load required kernel modules: Enable the overlay and br_netfilter modules needed for container networking
$ cat <<EOF | sudo tee /etc/modules-load.d/k8s.conf
overlay
br_netfilter
EOF
$ sudo modprobe overlay
$ sudo modprobe br_netfilter
These modules enable overlay networking and bridge netfilter functionality required by Kubernetes networking.
- Configure sysctl parameters: Set kernel parameters for Kubernetes networking
$ cat <<EOF | sudo tee /etc/sysctl.d/k8s.conf
net.bridge.bridge-nf-call-iptables  = 1
net.bridge.bridge-nf-call-ip6tables = 1
net.ipv4.ip_forward                 = 1
EOF
$ sudo sysctl --system
These settings enable iptables to process bridged traffic and allow IP forwarding between network interfaces.
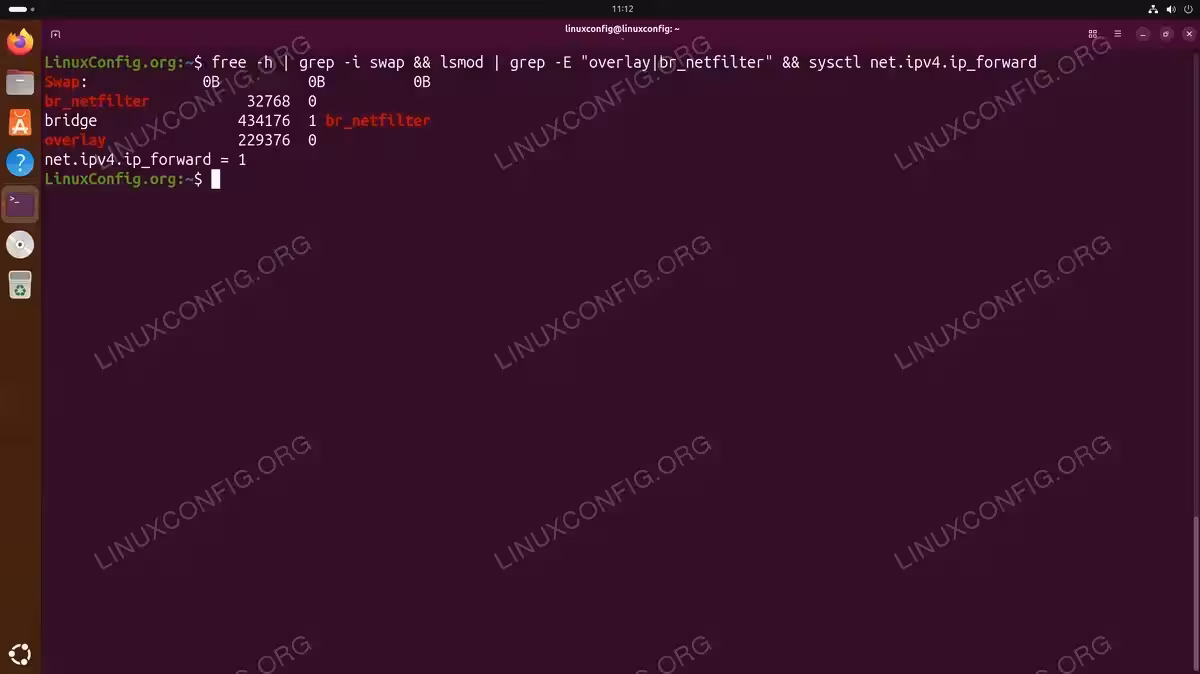
- Verify prerequisites: Confirm all settings are correctly applied
$ free -h | grep -i swap && lsmod | grep -E "overlay|br_netfilter" && sysctl net.ipv4.ip_forward
Swap should show 0B, both kernel modules should be listed, and ip_forward should equal 1.
IMPORTANT
Ensure your system has at least 2 GB of RAM and 2 CPU cores. Kubernetes will fail to initialize on systems with insufficient resources.
Install Container Runtime
Kubernetes requires a container runtime to run containers. Ubuntu 26.04 includes containerd in its default repositories, which is the recommended runtime for Kubernetes deployments. Alternatively, you could install Podman and use it with Kubernetes through CRI-O, though containerd provides the most straightforward setup.
- Install containerd: Install the container runtime from Ubuntu repositories
$ sudo apt update
$ sudo apt install containerd
- Generate default configuration: Create the containerd configuration directory and generate a default config file
$ sudo mkdir -p /etc/containerd
$ containerd config default | sudo tee /etc/containerd/config.toml
- Enable SystemdCgroup: Configure containerd to use systemd as the cgroup driver, which is required for Kubernetes
$ sudo sed -i 's/SystemdCgroup = false/SystemdCgroup = true/g' /etc/containerd/config.toml
This ensures containerd and kubelet use the same cgroup driver, preventing resource management conflicts.
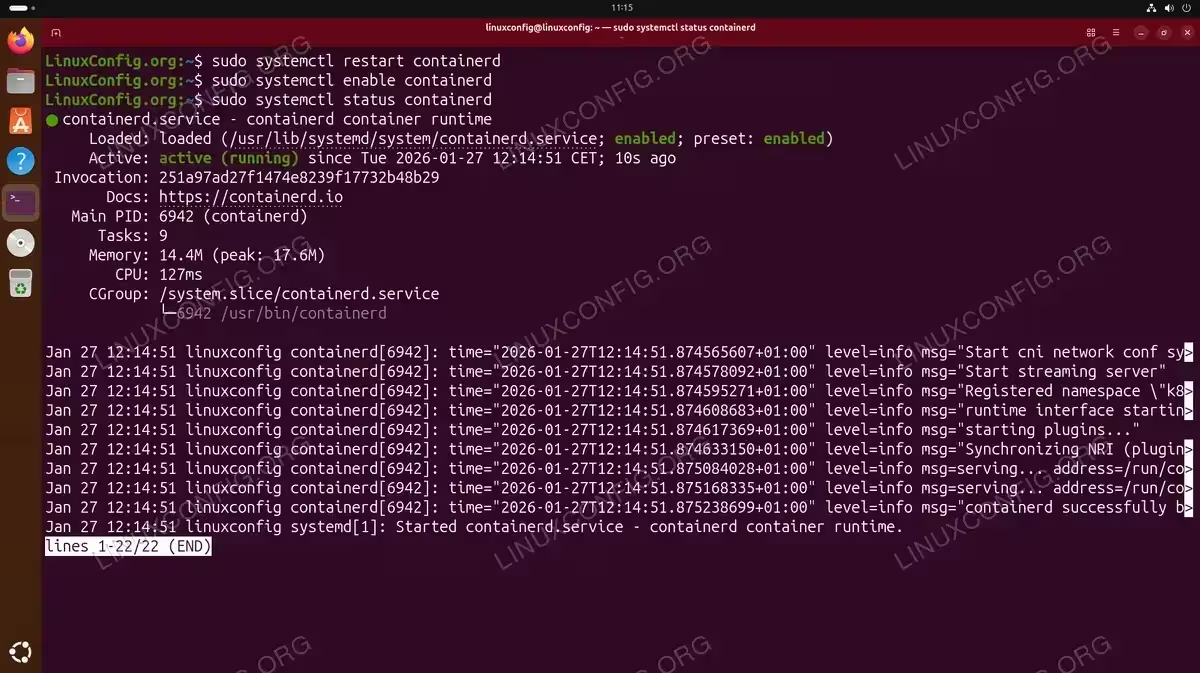
- Restart containerd: Apply the configuration changes
$ sudo systemctl restart containerd
$ sudo systemctl enable containerd
Install Kubernetes Components on Ubuntu 26.04
With the container runtime configured, you can now install the core Kubernetes components. The installation requires adding the official Kubernetes package repository to your system.
- Install required packages: Install dependencies needed to add the Kubernetes repository
$ sudo apt install apt-transport-https ca-certificates curl gnupg conntrack
- Add Kubernetes GPG key: Download and install the repository signing key
$ curl -fsSL https://pkgs.k8s.io/core:/stable:/v1.31/deb/Release.key | sudo gpg --dearmor --yes -o /etc/apt/keyrings/kubernetes-apt-keyring.gpg
This key verifies the authenticity of packages downloaded from the Kubernetes repository.
- Add Kubernetes repository: Add the official Kubernetes apt repository
$ echo 'deb [signed-by=/etc/apt/keyrings/kubernetes-apt-keyring.gpg] https://pkgs.k8s.io/core:/stable:/v1.31/deb/ /' | sudo tee /etc/apt/sources.list.d/kubernetes.list
- Install Kubernetes packages: Update package lists and install kubeadm, kubelet, and kubectl
$ sudo apt update
$ sudo apt install kubelet kubeadm kubectl
- Hold packages: Prevent automatic upgrades that could break your cluster
$ sudo apt-mark hold kubelet kubeadm kubectl
Holding these packages ensures version consistency across your cluster and prevents unintended upgrades during system updates.
INSTALLATION TIPS
The Kubernetes version in the repository URL (v1.31) should match your intended cluster version. Check the official Kubernetes releases page for available versions.
Initialize the Kubernetes Cluster
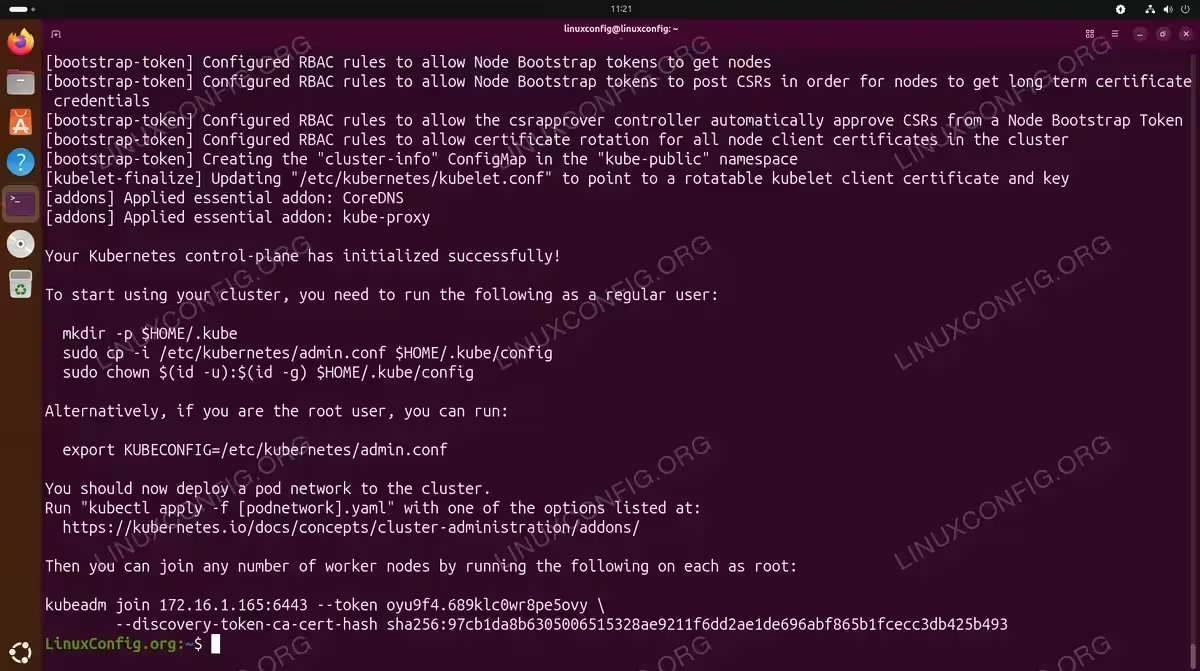
Now you can initialize your Kubernetes cluster using kubeadm. This process creates the control plane components and configures the cluster for operation.
- Initialize the cluster: Run kubeadm init with the pod network CIDR
$ sudo kubeadm init --pod-network-cidr=10.244.0.0/16
The
--pod-network-cidrflag specifies the IP address range for pod networking. The value 10.244.0.0/16 is compatible with Flannel, which we will install in the next section. - Configure kubectl for your user: Set up kubectl access for the current user
$ mkdir -p $HOME/.kube
$ sudo cp -i /etc/kubernetes/admin.conf $HOME/.kube/config
$ sudo chown $(id -u):$(id -g) $HOME/.kube/config
These commands copy the cluster admin configuration to your home directory and set proper ownership, allowing you to run kubectl commands without sudo.
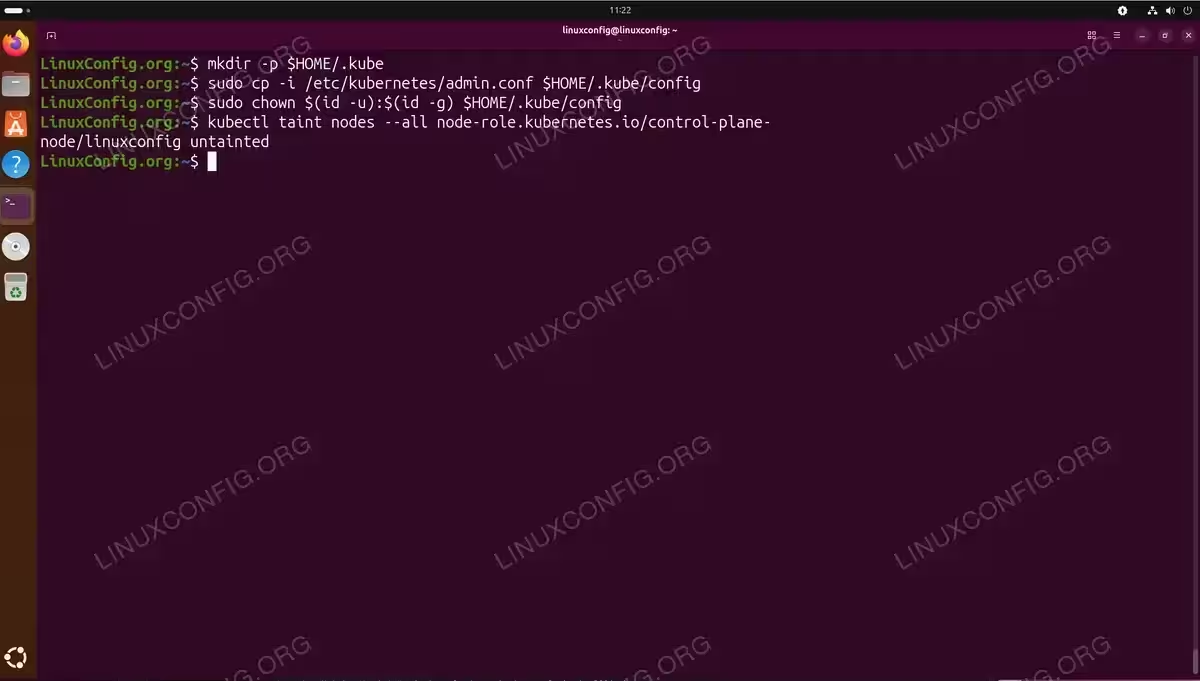
Configuring kubectl access and untainting the control-plane node for single-node deployment - Remove control plane taint (single-node only): Allow scheduling pods on the control plane node
$ kubectl taint nodes --all node-role.kubernetes.io/control-plane-
By default, Kubernetes prevents workloads from running on control plane nodes. For a single-node development cluster, removing this taint allows pods to be scheduled on the only available node.
Install Network Plugin
A pod network plugin is required for pods to communicate with each other across the cluster. Flannel is a simple and reliable choice that works well for most deployments.
- Install Flannel: Apply the Flannel manifest to deploy the network plugin
$ kubectl apply -f https://github.com/flannel-io/flannel/releases/latest/download/kube-flannel.yml
This command downloads and applies the Flannel configuration, creating the necessary DaemonSet and ConfigMap resources.
- Verify network plugin deployment: Check that Flannel pods are running
$ kubectl get pods -n kube-flannel
Wait until all Flannel pods show a Running status before proceeding.
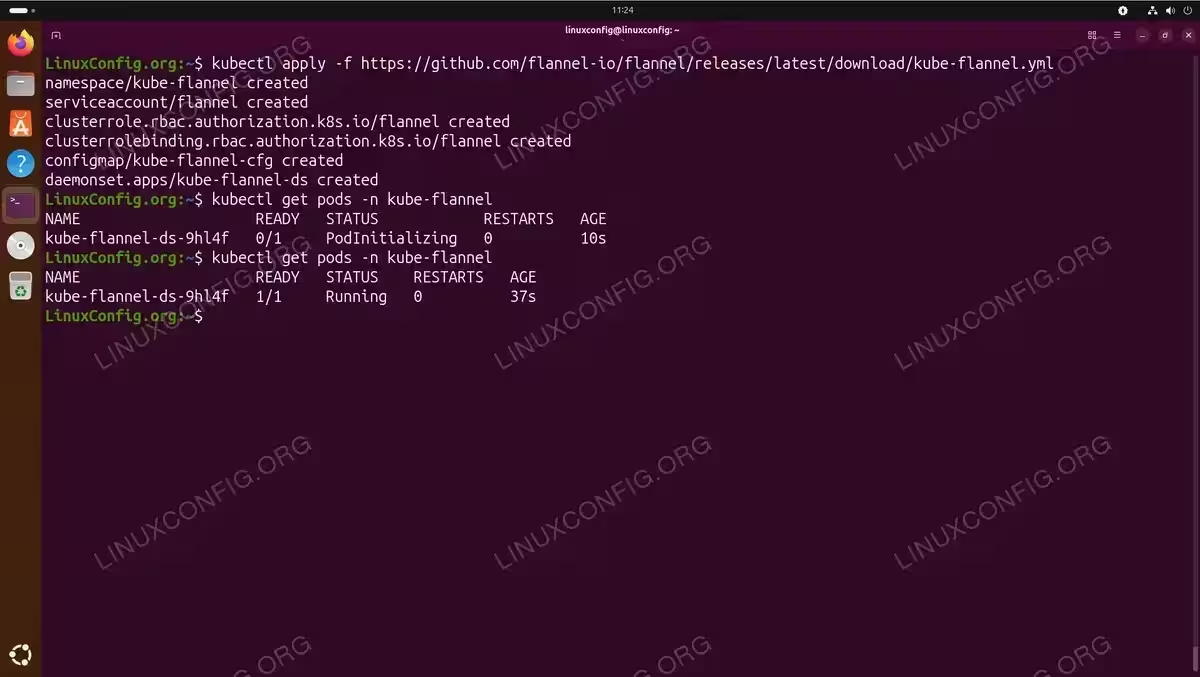
Flannel pod network deployed and running on the Kubernetes cluster
Verify Kubernetes Installation on Ubuntu 26.04
After completing the installation, verify that all components are functioning correctly. A properly configured cluster should show all system pods in Running status and the node in Ready state.
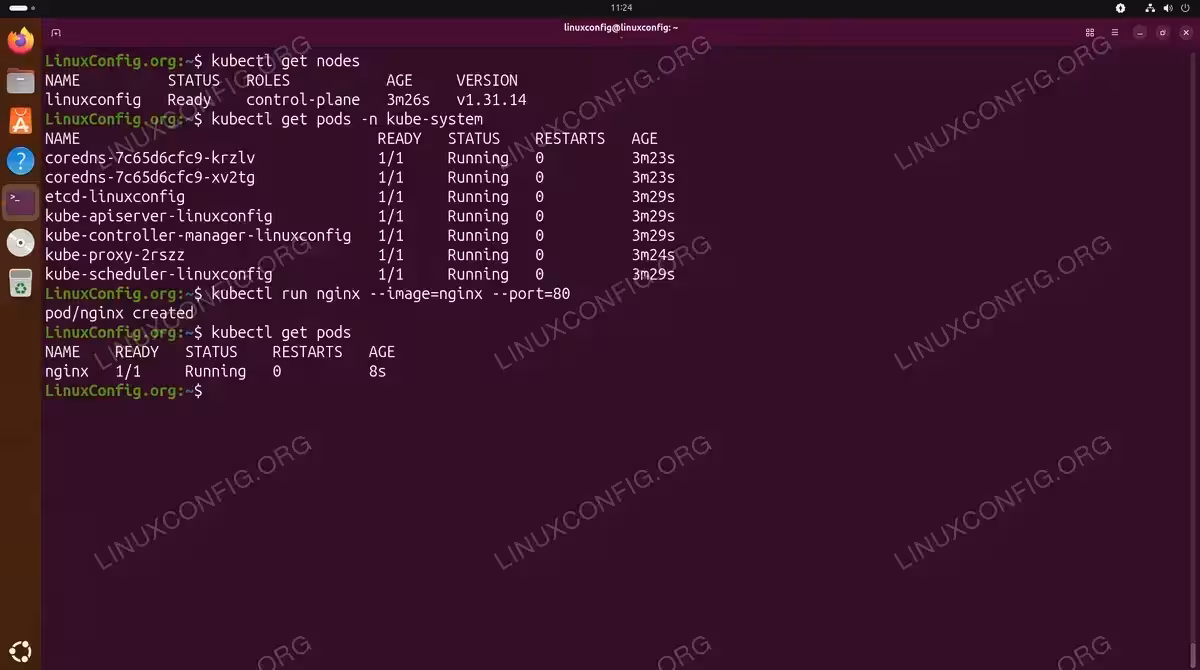
- Check node status: Verify the node is ready
$ kubectl get nodes
Output should show your node with STATUS “Ready”. If the status shows “NotReady”, wait a few moments for the network plugin to initialize.
- Check system pods: Verify all Kubernetes system components are running
$ kubectl get pods -n kube-system
All pods should show Running or Completed status.
- Deploy a test application: Create a test pod to verify the cluster accepts workloads
$ kubectl run nginx --image=nginx --port=80
$ kubectl get pods
The nginx pod should transition to Running status within a minute, confirming that your cluster can pull images and schedule pods.
- Clean up test resources: Remove the test pod
$ kubectl delete pod nginx
COMPLETED
Your Kubernetes cluster is now installed and operational on Ubuntu 26.04. You can begin deploying containerized applications using kubectl or Helm charts.
If you plan to work with containerized applications outside of Kubernetes, you may also want to learn how to use Podman containers for local development and testing.
Conclusion
You have successfully completed the Kubernetes install on Ubuntu 26.04 using kubeadm. Your single-node cluster includes all the essential components: a container runtime (containerd), the control plane services, and a pod network (Flannel). This setup is ideal for learning Kubernetes concepts, developing applications, and testing deployments before moving to production environments. To expand your cluster, you can use the kubeadm join command on additional nodes with the token generated during initialization.
Frequently Asked Questions
- Why does Kubernetes require swap to be disabled? Kubernetes schedules pods based on available memory resources. When swap is enabled, the kubelet cannot accurately determine memory usage, which can lead to unpredictable behavior and performance issues. The Kubernetes project requires swap to be disabled to ensure consistent and reliable resource management across the cluster.
- Can I use Docker instead of containerd as the container runtime? While Docker was previously supported, Kubernetes deprecated dockershim in version 1.24. You can still use Docker Engine with Kubernetes through the cri-dockerd adapter, but containerd is the recommended and simpler option. Containerd is the underlying runtime that Docker itself uses, so there is no practical disadvantage to using it directly.
- How do I add worker nodes to my cluster? During cluster initialization, kubeadm outputs a join command with a token. Run this command on each worker node to join it to the cluster. If you did not save the command, generate a new token using
kubeadm token create --print-join-commandon the control plane node. - What should I do if pods remain in Pending status? Pending status typically indicates a scheduling issue. On a single-node cluster, ensure you removed the control plane taint. Also verify that the node has sufficient CPU and memory resources. Run
kubectl describe pod <pod-name>to see detailed scheduling failure reasons. - How do I upgrade Kubernetes to a newer version? Use kubeadm to upgrade the cluster in stages. First, upgrade kubeadm itself, then run
kubeadm upgrade planto see available versions, andkubeadm upgrade apply <version>to perform the upgrade. After upgrading the control plane, upgrade kubelet and kubectl on each node.