Disabling IPv6 on Ubuntu 26.04 can resolve compatibility issues with legacy applications, simplify network troubleshooting, and address specific security requirements. While IPv6 is the future of networking, certain environments still require IPv4-only configurations. This guide walks you through the most effective methods to disable IPv6 on Ubuntu 26.04, with specific approaches for Desktop and Server installations.
Table of Contents
In this tutorial you will learn:
- How to check whether IPv6 is currently enabled
- How to disable IPv6 temporarily for testing
- How to disable IPv6 on Ubuntu Desktop using GNOME Settings
- How to completely disable IPv6 on Desktop via GRUB
- How to disable IPv6 on Ubuntu Server using sysctl

Software Requirements
| Category | Requirements, Conventions or Software Version Used |
|---|---|
| System | Ubuntu 26.04 Resolute Raccoon (Desktop or Server) |
| Software | GNOME Settings (Desktop), sysctl (Server) |
| Other | Privileged access to your Linux system as root or via the sudo command. |
| Conventions | $ – requires given linux commands to be executed as a regular non-privileged user or with sudo command for elevated privileges |
| Environment | Method |
|---|---|
| Desktop (network interfaces) | Settings → Network → IPv6 → Disable |
| Desktop (complete) | Add ipv6.disable=1 to GRUB and reboot |
| Server | Add net.ipv6.conf.all.disable_ipv6 = 1 to /etc/sysctl.d/99-disable-ipv6.conf |
Check Current IPv6 Status
Before making any changes, verify whether IPv6 is currently enabled on your Ubuntu 26.04 system. This step helps you confirm the current state and later verify that your changes took effect.
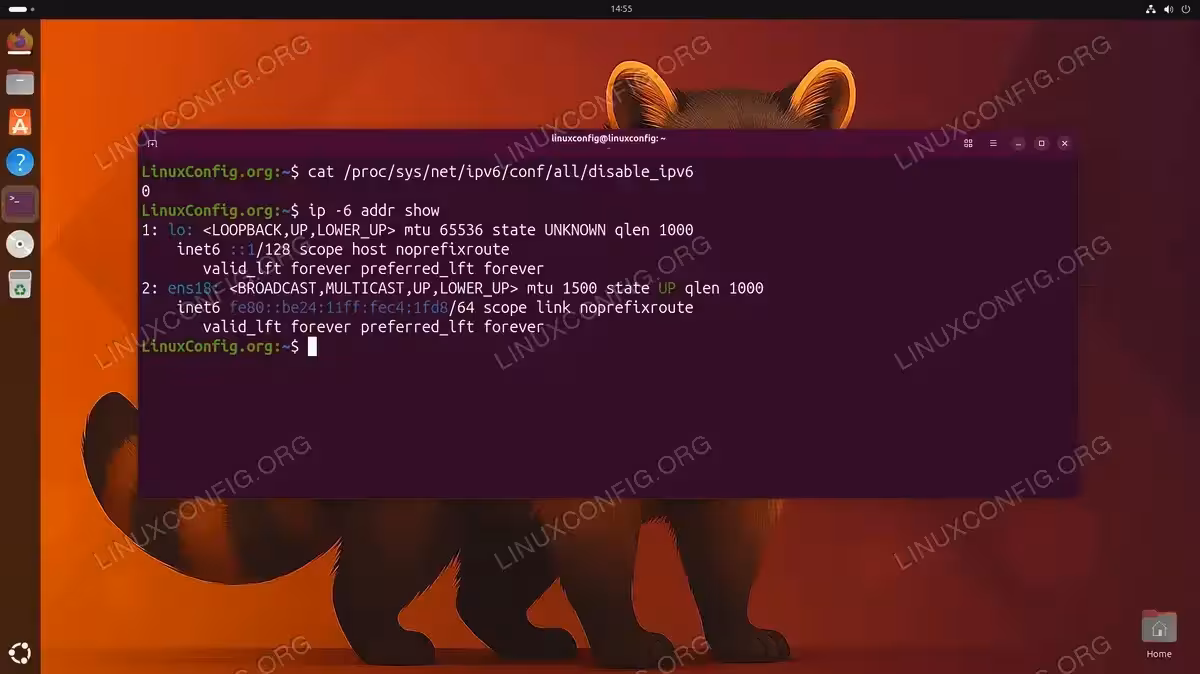
- Check IPv6 status via proc filesystem: The kernel exposes IPv6 configuration through the proc filesystem. A value of 0 means IPv6 is enabled, while 1 means disabled.
$ cat /proc/sys/net/ipv6/conf/all/disable_ipv6
If the output shows
0, IPv6 is currently active on your system. - Verify with ip command: You can also check for IPv6 addresses assigned to your network interfaces.
$ ip -6 addr show
This command displays all IPv6 addresses. If you see addresses starting with
fe80::(link-local) or2001:(global), IPv6 is functioning. - Check network connectivity: Test IPv6 connectivity to confirm the protocol is operational.
$ ping -6 -c 3 ipv6.google.com
Successful replies indicate working IPv6 connectivity.
Disable IPv6 Temporarily
Temporary disabling is useful for testing purposes on both Desktop and Server installations. These changes persist only until the next reboot, making them ideal for troubleshooting without committing to permanent modifications.
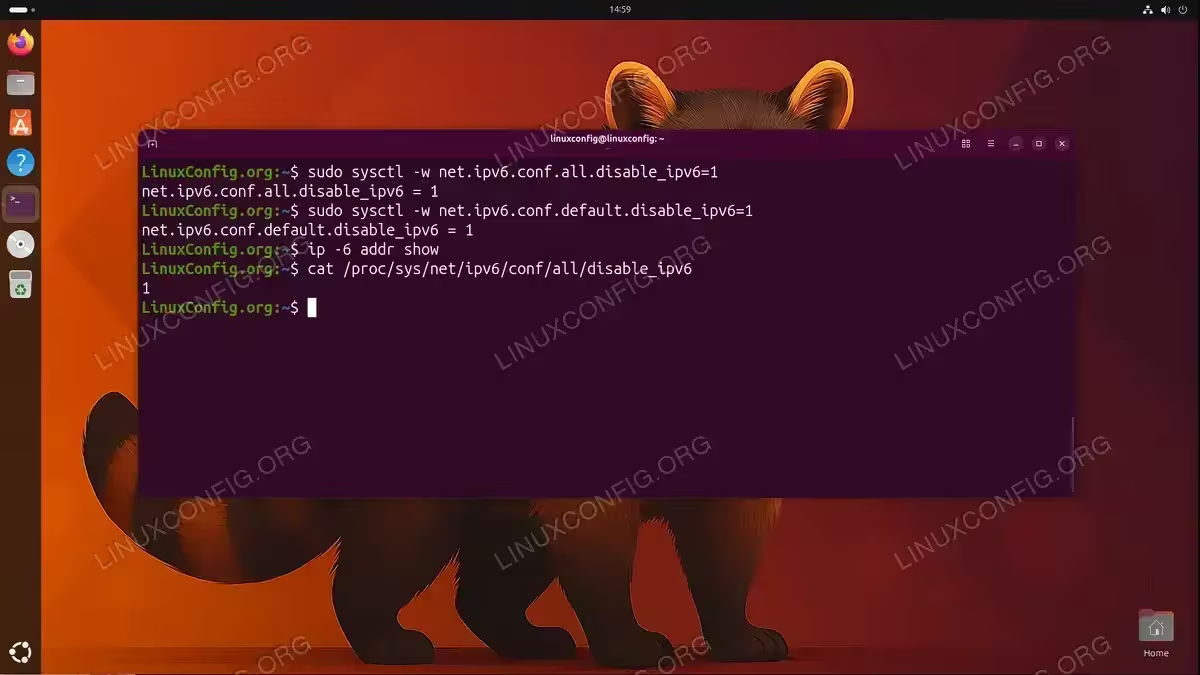
- Disable IPv6 for all interfaces at runtime: Use sysctl to modify kernel parameters immediately.
$ sudo sysctl -w net.ipv6.conf.all.disable_ipv6=1
$ sudo sysctl -w net.ipv6.conf.default.disable_ipv6=1
These commands instantly disable IPv6 across all network interfaces.
- Disable IPv6 for a specific interface: If you only need to disable IPv6 on one interface, specify it by name.
$ sudo sysctl -w net.ipv6.conf.ens18.disable_ipv6=1
Replace
ens18with your actual interface name (useip link showto list interfaces). - Verify the change: Confirm IPv6 is now disabled.
$ cat /proc/sys/net/ipv6/conf/all/disable_ipv6
The output should now show
1. Additionally, verify no IPv6 addresses remain:$ ip -6 addr show
IMPORTANT
Runtime changes made with sysctl -w are lost after reboot. Use the permanent methods below based on whether you’re running Ubuntu Desktop or Server.
Disable IPv6 on Desktop
Ubuntu Desktop uses NetworkManager to manage network connections. The simplest approach is to disable IPv6 through GNOME Settings. This method disables IPv6 on your network interfaces while leaving the loopback interface unchanged. If you require a complete IPv6 disable including loopback, use the GRUB method described below.
Using GNOME Settings GUI
- Open Network Settings: Click on the system menu in the top-right corner and select the gear icon next to your network connection, or navigate to Settings → Network.
- Access connection settings: Click the gear icon next to your active connection to open its settings.
- Disable IPv6: Select the IPv6 tab and change the IPv6 Method from “Automatic” to “Disable”.
- Apply changes: Click “Apply” to save the settings. You may need to toggle the connection off and on for changes to take effect.
- Verify IPv6 is disabled: Open a terminal and confirm the setting took effect.
$ ip -6 addr show
The output should show only the loopback interface with
::1. Your network interface (e.g., ens18) should not have any IPv6 addresses.

IMPORTANT
The GUI method disables IPv6 on network interfaces but the loopback address (::1) remains active. For most use cases, this is sufficient. If you need to completely disable IPv6 including loopback, use the GRUB method below. The GRUB method also works on Ubuntu Server if you have the convenience to reboot the system.
Complete Disable via GRUB
For a complete IPv6 disable including the loopback interface, modify the kernel boot parameters through GRUB. This method removes IPv6 support entirely from the kernel.
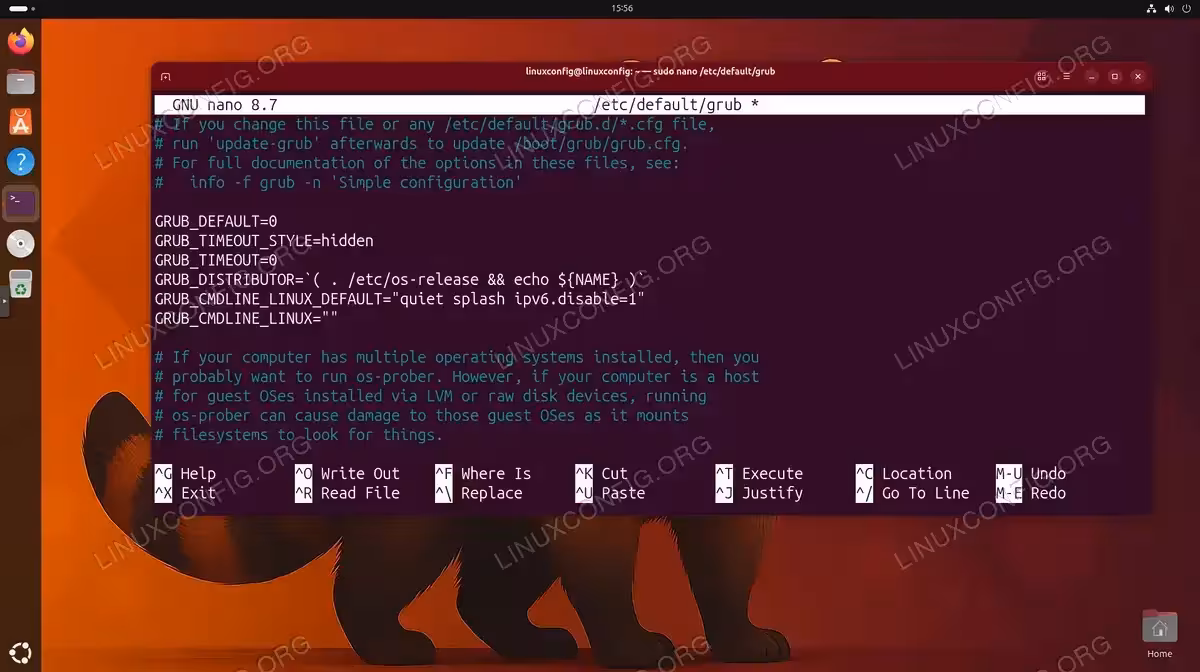
- Edit the GRUB configuration: Open the GRUB defaults file.
$ sudo nano /etc/default/grub
- Modify the kernel boot parameters: Find the line starting with
GRUB_CMDLINE_LINUX_DEFAULTand add the IPv6 disable parameter.GRUB_CMDLINE_LINUX_DEFAULT="quiet splash ipv6.disable=1"
- Update GRUB: Regenerate the GRUB configuration file.
$ sudo update-grub
- Reboot to apply: The kernel parameter takes effect on next boot.
$ sudo reboot
- Verify IPv6 is completely disabled: After reboot, confirm the parameter was applied.
$ cat /proc/cmdline | grep ipv6
You should see
ipv6.disable=1in the output. Additionally, verify no IPv6 addresses exist:$ ip -6 addr show
This command should return empty output.
INSTALLATION TIPS
The GRUB method completely removes IPv6 support from the kernel. Some applications may fail if they expect IPv6 to be present, even if unused. Try the GUI method first if possible.
Disable IPv6 on Server
Ubuntu Server typically doesn’t run NetworkManager, so sysctl configuration works reliably. The settings persist across reboots because no service overrides them. You can also disable IPv6 with Netplan for per-interface control.
- Create a dedicated configuration file: Best practice is to create a separate file rather than modifying the main sysctl.conf.
$ sudo nano /etc/sysctl.d/99-disable-ipv6.conf
- Add the disable parameters: Insert the following lines into the file:
net.ipv6.conf.all.disable_ipv6 = 1
net.ipv6.conf.default.disable_ipv6 = 1
net.ipv6.conf.lo.disable_ipv6 = 1
The third line disables IPv6 on the loopback interface, which some applications check specifically.
- Apply the configuration: Load the new settings without rebooting.
$ sudo sysctl --system
This command reads all sysctl configuration files and applies them.
- Verify IPv6 is disabled: Confirm the settings took effect.
$ cat /proc/sys/net/ipv6/conf/all/disable_ipv6
The output should show
1. Additionally, verify no IPv6 addresses remain:$ ip -6 addr show
This command should return empty output.
For more detailed network configurations, refer to the official Netplan documentation.
Conclusion
You now have effective methods to disable IPv6 on Ubuntu 26.04 for both Desktop and Server installations. On Ubuntu Desktop, the GNOME Settings GUI provides a quick solution for disabling IPv6 on network interfaces, while the GRUB kernel parameter method offers complete IPv6 removal when needed. On Ubuntu Server, the sysctl configuration method works reliably and persists across reboots.
Remember that IPv6 adoption continues to grow, and many services now prefer or require IPv6 connectivity. Therefore, consider whether disabling IPv6 is truly necessary for your specific situation, or if addressing the underlying compatibility issue might be a better long-term solution.
Frequently Asked Questions
- Why does the loopback interface still show IPv6 after using GNOME Settings? The GNOME Settings method only disables IPv6 on network interfaces managed by NetworkManager. The loopback interface (
::1) is managed by the kernel directly. For most applications, this doesn’t cause issues. If you need complete IPv6 removal, use the GRUB method instead. - Why doesn’t sysctl work on Ubuntu Desktop? Ubuntu Desktop uses NetworkManager to manage network connections. NetworkManager re-enables IPv6 on interfaces after the system boots, overriding any sysctl settings. Use GNOME Settings or the GRUB method instead.
- Will disabling IPv6 break any applications on Ubuntu 26.04? Most applications work fine without IPv6, as they fall back to IPv4. However, some modern services like certain container orchestration tools and newer peer-to-peer applications may require IPv6. Additionally, services configured to listen only on IPv6 addresses will become unreachable. Test your critical applications after making the change.
- Does disabling IPv6 improve security or performance? Disabling IPv6 eliminates a potential attack surface if your network doesn’t use IPv6. However, modern firewalls handle IPv6 well, so security benefits are minimal in properly configured systems. Performance impact is negligible either way, as the IPv6 stack consumes minimal resources when idle.
- How do I check if my system uses NetworkManager? Run
systemctl status NetworkManager. If the service is active and running, your system uses NetworkManager and you should follow the Desktop instructions. Ubuntu Server installations typically don’t have NetworkManager unless manually installed.