Migrating your SSH keys from RSA to ed25519 is an important security upgrade that provides better performance and stronger cryptographic protection. The ed25519 algorithm offers equivalent security to RSA-4096 keys while being significantly smaller and faster. This makes authentication quicker and reduces the computational overhead on both client and server systems.
While RSA keys are still widely used and supported, ed25519 has become the recommended standard for SSH authentication. The algorithm is resistant to timing attacks, requires less bandwidth, and generates smaller key files. Making the switch is straightforward and can be done without disrupting your current SSH access, as both key types can coexist during the migration period.
In this tutorial, we’ll walk you through the complete process of migrating from RSA to ed25519 keys while maintaining uninterrupted access to your remote systems. We’ll cover key generation, deployment, testing, and the safe removal of old RSA keys once the migration is complete.
In this tutorial you will learn:
- How to generate ed25519 SSH keys
- How to deploy ed25519 keys to remote servers
- How to test the new keys without losing access
- How to safely remove old RSA keys
- Security benefits of ed25519 over RSA
| Category | Requirements, Conventions or Software Version Used |
|---|---|
| System | Any Linux distro |
| Software | OpenSSH 6.5 or higher |
| Other | Existing SSH access to remote systems |
| Conventions | # – requires given linux commands to be executed with root privileges either directly as a root user or by use of sudo command$ – requires given linux commands to be executed as a regular non-privileged user |
Why Migrate to ed25519
Before we begin the migration process, it’s important to understand why ed25519 is superior to RSA for SSH authentication. The ed25519 algorithm provides several key advantages over traditional RSA keys.
Performance is significantly better with ed25519. Key generation takes milliseconds instead of seconds, and authentication is noticeably faster. The keys themselves are much smaller, with an ed25519 public key being only 68 characters compared to over 700 characters for a 4096-bit RSA key.
Security is enhanced through modern cryptographic design. The ed25519 algorithm is resistant to side-channel attacks and doesn’t rely on the security of large prime numbers like RSA does. This makes it more future-proof against advances in computing power and cryptanalysis.
COMPATIBILITY NOTE
Ed25519 keys are supported by OpenSSH 6.5 and later, which covers virtually all modern Linux distributions. Legacy systems from before 2014 may require updates.
Pre-Migration Checklist
Before starting the migration, verify your current SSH setup and prepare for the transition.
- Verify current SSH access: First, confirm that you can successfully connect to your remote server using your existing RSA key. We’ll use
example.linuxconfig.orgas our example server.$ ssh linuxconfig@example.linuxconfig.org
You should see output similar to:
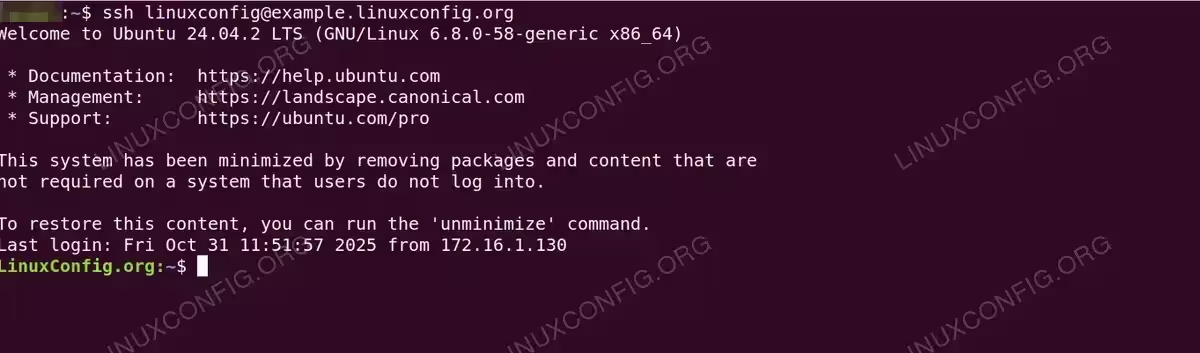
SSH session displaying Ubuntu 24.04.2 LTS welcome message with system documentation links and last login timestamp from IP 172.16.1.130 - Check existing keys: List your current SSH keys to see what you’re working with.
$ ls -la ~/.ssh/
Look for files like
id_rsaandid_rsa.pub, which are your current RSA private and public keys. - Backup current configuration: Create a backup of your SSH directory before making changes.
$ cp -r ~/.ssh ~/.ssh.backup
IMPORTANT
Do not delete your RSA keys until you have confirmed that ed25519 authentication is working properly. Both key types can coexist safely.
Generate ed25519 Keys
Now we’ll generate a new ed25519 key pair that will replace your RSA keys. During this process, your existing RSA keys remain functional and can continue to be used with all your systems. This allows you to migrate systems one at a time without disrupting access to servers that haven’t been updated yet.
- Generate the key pair: Use
ssh-keygento create a new ed25519 key. The-tflag specifies the key type, and-Cadds a comment for identification.$ ssh-keygen -t ed25519 -C "linuxconfig@MyNeSSHKey"
You’ll see output like:
Generating public/private ed25519 key pair.
Enter file in which to save the key (/home/user/.ssh/id_ed25519):
Press Enter to accept the default location.
- Set a passphrase (optional): When prompted, you can either enter a strong passphrase to protect your private key, or press Enter to skip it for passwordless authentication.
Enter passphrase (empty for no passphrase):
Enter same passphrase again:
If you set a passphrase, you’ll need to enter it once per session when first using the key. The SSH agent will cache it, so you won’t need to enter it for every connection. For fully passwordless logins, leave the passphrase empty by pressing Enter twice.
The key generation will complete quickly:
Your identification has been saved in /home/user/.ssh/id_ed25519
Your public key has been saved in /home/user/.ssh/id_ed25519.pub
The key fingerprint is:
SHA256:xxxxxxxxxxxxxxxxxxxxxxxxxxxxxxxxxxxxx linuxconfig@MyNeSSHKey
- Verify the new keys: Check that the new keys were created successfully.
$ ls -la ~/.ssh/id_ed25519*
You should see both files:
-rw------- 1 user user  411 Oct 31 11:30 /home/user/.ssh/id_ed25519
-rw-r--r-- 1 user user   99 Oct 31 11:30 /home/user/.ssh/id_ed25519.pub
Note the correct permissions: the private key (600) is readable only by you, while the public key (644) is readable by everyone.
KEY SECURITY
Ed25519 keys are much smaller than RSA keys. Your private key is only about 400 bytes, and your public key is under 100 bytes, compared to several kilobytes for RSA-4096.
Deploy ed25519 Key to Remote Server
With your new ed25519 key generated, the next step is to add it to your remote server’s authorized keys.
- Copy the public key: Use
ssh-copy-idto install your new ed25519 public key on the remote server. This command will use your existing RSA key for authentication.$ ssh-copy-id -i ~/.ssh/id_ed25519.pub linuxconfig@example.linuxconfig.org
You’ll see output confirming the key was added:
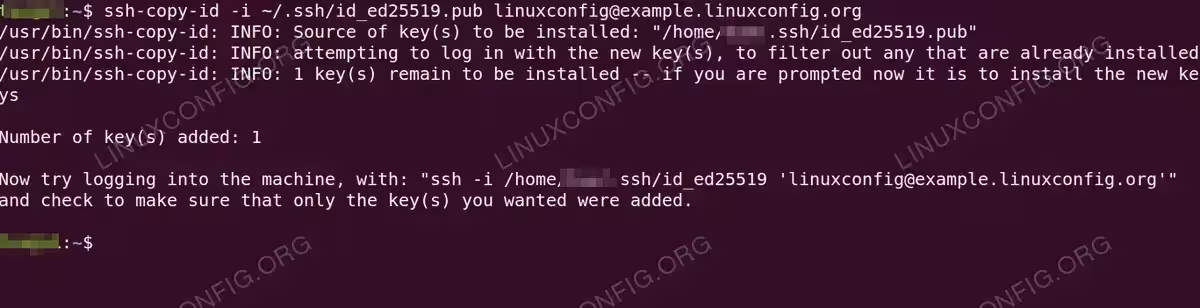
ssh-copy-id output confirming successful installation of ed25519 public key to example.linuxconfig.org with verification instructions - Verify authorized_keys file: Connect to the server and check that your ed25519 public key was added correctly.
$ ssh linuxconfig@example.linuxconfig.org "cat ~/.ssh/authorized_keys"
You should see both your RSA and ed25519 keys listed. The ed25519 key will be much shorter and will start with
ssh-ed25519.
Test ed25519 Authentication
Before removing your RSA keys, thoroughly test that ed25519 authentication works correctly.
- Test with explicit key specification: Force SSH to use only the ed25519 key to verify it works.
$ ssh -i ~/.ssh/id_ed25519 linuxconfig@example.linuxconfig.org
If successful, you’ll connect to the server:
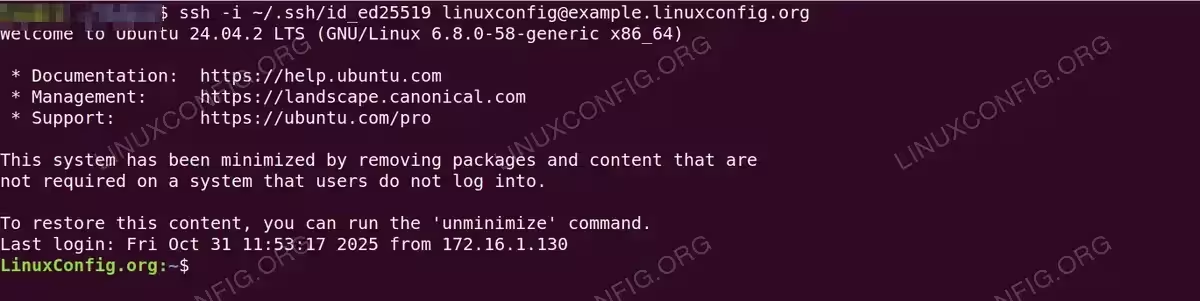
SSH session authenticated with ed25519 key showing Ubuntu welcome message and updated login timestamp at 11:53:17 from IP 172.16.1.130 - Check which key was used: Verify that SSH is preferring the ed25519 key over RSA in normal connections. Use verbose mode to see authentication details.
$ ssh -v linuxconfig@example.linuxconfig.org 2>&1 | grep "Offering public key"
Look for a line showing the ed25519 key:
debug1: Offering public key: /home/user/.ssh/id_ed25519 ED25519 SHA256:xxxxx
SSH will try ed25519 first by default because it’s listed first alphabetically and is the preferred algorithm.
- Test from multiple locations: If you connect to this server from different machines, repeat the key generation and deployment process on each client system before proceeding.
TESTING TIP
Keep at least one active SSH session open to your server while testing. This ensures you won’t be locked out if something goes wrong.
Update SSH Configuration
Optionally, you can update your SSH configuration to explicitly prefer ed25519 keys and improve connection management.
- Edit SSH client config: Create or edit your SSH config file to optimize settings for ed25519 keys.
$ vi ~/.ssh/config
Add or modify your host configuration:
Host example.linuxconfig.org
    HostName example.linuxconfig.org
    User linuxconfig
    IdentityFile ~/.ssh/id_ed25519
    PubkeyAuthentication yes
    PasswordAuthentication no
This configuration ensures SSH always uses your ed25519 key for this host.
- Test the configuration: Try connecting using the hostname shortcut defined in your config.
$ ssh example.linuxconfig.org
You should connect successfully using the ed25519 key.
For more advanced SSH configuration options, check out our SSH config generator tool.
Remove RSA Keys
Once you’ve confirmed that ed25519 authentication works reliably, you can safely remove the old RSA keys.
- Remove RSA key from server: Connect to the remote server and edit the authorized_keys file to remove the RSA public key.
$ ssh linuxconfig@example.linuxconfig.org
$ vi ~/.ssh/authorized_keys
Delete the line containing your RSA key. It will be the longer key that starts with
ssh-rsa. Save and exit the file. - Test connection after removal: Verify that you can still connect using only the ed25519 key.
$ ssh linuxconfig@example.linuxconfig.org
The connection should work without any issues.
- Remove local RSA keys: Once you’re confident everything works, you can remove the RSA keys from your local system. Move them to a backup location instead of deleting them immediately.
$ mkdir ~/old_ssh_keys
$ mv ~/.ssh/id_rsa ~/old_ssh_keys/
$ mv ~/.ssh/id_rsa.pub ~/old_ssh_keys/
- Final verification: Test SSH connections one more time to ensure everything still works.
$ ssh linuxconfig@example.linuxconfig.org
FINAL STEP
After a few weeks of successful operation with ed25519 keys, you can permanently delete the old RSA keys from the backup location.
Server-Side Security Hardening
After migrating all clients to ed25519, consider hardening your SSH server configuration to only accept modern key types.
- Edit SSH server config: On the remote server, edit the SSH daemon configuration.
# vi /etc/ssh/sshd_config
Add or modify these settings to restrict accepted key types:
PubkeyAcceptedKeyTypes ssh-ed25519,ssh-ed25519-cert-v01@openssh.com
This ensures only ed25519 keys are accepted for authentication.
- Restart SSH service: Apply the configuration changes by restarting the SSH service.
# systemctl restart sshd
- Test the restriction: Verify that ed25519 authentication still works and that RSA keys would be rejected.
$ ssh linuxconfig@example.linuxconfig.org
CAUTION
Only restrict key types after all users and systems have migrated to ed25519. Prematurely restricting key types will lock out users still using RSA keys.
Troubleshooting Common Issues
If you encounter problems during migration, here are common issues and solutions.
Authentication Failures
If SSH still prompts for a password after adding the ed25519 key, check these common causes:
- Permissions: The
~/.sshdirectory must be 700, andauthorized_keysmust be 600 on the server. Fix with:$ ssh linuxconfig@example.linuxconfig.org "chmod 700 ~/.ssh && chmod 600 ~/.ssh/authorized_keys"
- SELinux context: On systems with SELinux, the context might need restoring:
$ ssh linuxconfig@example.linuxconfig.org "restorecon -R ~/.ssh"
- SSH agent: Ensure your SSH agent has the ed25519 key loaded:
$ ssh-add ~/.ssh/id_ed25519
$ ssh-add -l
Legacy System Compatibility
Very old systems might not support ed25519. Check with:
$ ssh -Q key
If ed25519 is not listed, you’ll need to upgrade OpenSSH or continue using RSA keys for those specific systems.
Related Resources
- SSH command in Linux with examples – Complete SSH command reference
- Configuring passwordless SSH logins – Essential authentication setup
- SSH config generator – Simplify SSH configuration management
Closing Thoughts
In this guide, we covered the complete process of migrating from RSA to ed25519 SSH keys. The migration improves both security and performance while maintaining backward compatibility during the transition. By following the step-by-step process of generating new keys, deploying them alongside existing RSA keys, thoroughly testing, and only then removing old keys, you can upgrade your SSH authentication without risking loss of access to your systems. The ed25519 algorithm represents the current best practice for SSH authentication and is well worth the small effort required to migrate.