Since all the major linux distributions adopted Systemd as their init system, they progressively became more and more similar to each other. Void Linux is an exception: it was written from scratch entirely by volunteers, uses Runit as its init system and service manager, and, as its name may suggest, it was designed with simplicity in mind.
In this tutorial we see how to install Void Linux from scratch, encrypting the system with an LVM on LUKS setup.
In this tutorial you will learn:
- How to install Void Linux with LVM on LUKS encryption
| Category | Requirements, Conventions or Software Version Used |
|---|---|
| System | Distribution agnostic |
| Software | All required software is included in the Void Linux image |
| Other | Familiarity with the command line, LVM and LUKS |
| Conventions | # – requires given linux-commands to be executed with root privileges either directly as a root user or by use of sudo command$ – requires given linux-commands to be executed as a regular non-privileged user |
Introduction
In this tutorial we will install Void Linux assuming the machine boots using UEFI firmware and a bootable medium was created using one of the Void Linux available images based on glibc. Let’s begin.
Partitioning the disk
For the sake of this tutorial we will create three partitions, in order:
- An ESP (Efi System Partition)
- A partition we will mount at /boot: it will host all the kernels and the bootloader configuration
- A partition we will format using LUKS: it will be used as an LVM physical storage
To partition the disk we can use sfdisk, which is included by default in the Void Linux image. We can create all partitions with a single command:
# sfdisk /dev/vda << EOF
label: gpt
,600MiB,U
,1GiB,L
,,L
EOF
Here is how the partition table of the disk should look like after the command:
Device       Start      End  Sectors  Size Type
/dev/vda1     2048  1230847  1228800  600M EFI System
/dev/vda2  1230848  3327999  2097152    1G Linux filesystem
/dev/vda3  3328000 41940991 38612992 18.4G Linux filesystem
You may argue that 600 MiB allocated for the esp partition are overkill, but storage is cheap, and as they said in Latin: “melius abundare quam deficere” (too much is better than too little).
Creating the LUKS container
We will use the /dev/vda3 partition as a LUKS container. To initialize it we use the following command:
# cryptsetup luksFormat --hash=sha512 --key-size=512 --cipher=aes-xts-plain64 /dev/vda3
You can, of course, change LUKS parameters according to your liking. The operation is destructive (it causes the destruction of all data on the partition), therefore we must confirm it and provide (twice) the password we will use to unlock the container:
WARNING!
========
This will overwrite data on /dev/vda3 irrevocably.

Are you sure? (Type 'yes' in capital letters): YES
Enter passphrase for /dev/vda3:
Verify passphrase:
To proceed further with the installation we need to unlock the container right away:
# cryptsetup luksOpen /dev/vda3 cryptroot
In the example above, “cryptroot” is the (arbitrary) device mapper name for the unlocked LUKS device: it will be accessible as /dev/mapper/cryptroot.
Setting up LVM
If you plan to install the rest of the system on a single partition, you can skip this step. LVM provides many advantages and flexibility but adds complexity, which would be unnecessary on such setup. To proceed with the LVM setup, we must use the unlocked LUKS container as an LVM physical volume:
# pvcreate /dev/mapper/cryptroot
Next, we must create a volume group, and add the physical volume to it. A widely use convention is to name the volume group after the system hostname:
# vgcreate linuxconfig_vg /dev/mapper/cryptroot
We can now create how many logical volumes we need on our volume group. Let’s say we want one for / (7GiB), one to be used as a swap “partition” (2GiB), and another one we will mount at /home (using all the remaining space on the volume):
# lvcreate -n root_lv -L7GiB linuxconfig_vg
# lvcreate -n swap_lv -L2GiB linuxconfig_vg
# lvcreate -n home_lv -l+100%FREE linuxconfig_vg
Creating and mounting filesystems
Now that all partitions are ready, we can create filesystems on them. First of all, let’s create a FAT32 filesystem on the EFI partition:
# mkfs.fat -F32 /dev/vda1
To format the partition we will mount at /boot, the “root_lv” and “home_lv” logical volumes we can use the ext4 filesystem:
# mkfs.ext4 /dev/vda2
# mkfs.ext4 /dev/linuxconfig_vg/root_lv
# mkfs.ext4 /dev/linuxconfig_vg/home_lv
Next, we mark the /dev/linuxconfig_vg/swap_lv logical volume as as swap area using mkswap:
# mkswap /dev/linuxconfig_vg/swap_lv
We now need to mount the filesystems we just created. The Void installer uses the /mnt/target directory as base mountpoint; we will do the same. We ensure the directory exists, then mount the root filesystem on it:
# mkdir /mnt/target && mount /dev/linuxconfig_vg/root_lv /mnt/target
Next, we create the /mnt/target/home directory and we mount the “home_lv” logical volume on it:
# mkdir /mnt/target/home && mount /dev/linuxconfig_vg/home_lv /mnt/target/home
We do the same thing for the boot and EFI partitions:
# mkdir /mnt/target/boot && mount /dev/vda2 /mnt/target/boot
# mkdir /mnt/target/boot/efi && mount /dev/vda1 /mnt/target/boot/efi
Finally, we mount the pseudo-filesystems: /dev, /sys and /proc. They need to be accessible when performing certain operations like generating the initramfs:
# mkdir /mnt/target/{dev,sys,proc}
# mount --rbind /dev /mnt/target/dev
# mount --rbind /sys /mnt/target/sys
# mount --rbind /proc /mnt/target/proc
Installing the base system and the required packages
Once the filesystems our mounted, we can install the base system plus some extra packages not included in it: lvm2, cryptsetup and the appropriate version of the Grub bootloader. To perform the installation we use the xbps-install command:
# xbps-install -Sy -R https://repo-default.voidlinux.org/current -r /mnt/target base-system cryptsetup lvm2 grub-x86_64-efi
The -S option (short for --sync) is used to synchronize the repository index file, and -y to skip interactive prompts. We specify the URL of the repository to be used for the installation as argument to the -R option, and the installation base directory as argument to -r.
Chrooting and configuring the system
To chroot into the newly installed system, instead of using the bare “chroot” command, we use the “xchroot” script included in Void. The script performs some preliminary operations, such as bind-mounting pseudo filesystems and the /etc/resolv.conf file, which contains information about names resolution. It also modifies the shell prompt:
# xchroot /mnt/target
Setting the hostname
To set the system hostname we just need to write it into the /etc/hostname file:
[xchroot /mnt/target] # echo linuxconfig > /etc/hostname
Setting system locale
To set the system locale we run the following commands (in this case we use “en_US.UTF-8”):
[xchroot /mnt/target] # echo LANG=en_US.UTF-8 > /etc/locale.conf
[xchroot /mnt/target] # echo "en_US.UTF-8 UTF-8" > /etc/default/libc-locales
[xchroot /mnt/target] # xbps-reconfigure -f glibc-locales
Setting the timezone
To set the timezone we link the appropriate timezone under /usr/share/zoneinfo to /etc/localtime. I live in Italy, so I use the “Europe/Rome” timezone:
[xchroot /mnt/target] # ln -sf /usr/share/zoneinfo/Europe/Rome /etc/localtime
Changing the root password
We probably want to change the root password (the default is voidlinux). In order to do that, we use the “passwd” command:
[xchroot /mnt/target] # passwd
New password:
Retype new password:
Creating a standard user
We may also want to create an unprivileged user and assign a password to it, to avoid working as root all the time:
[xchroot /mnt/target] # useradd -m -s /bin/bash -G wheel,audio,video,floppy,cdrom,optical,kvm,xbuilder doc
[xchroot /mnt/target] # passwd doc
Populating /etc/fstab
The /etc/fstab file contains information about filesystems mounting. In this case:
tmpfs                        /tmp  tmpfs    defaults,nosuid,nodev 0       0
/dev/linuxconfig_vg/root_lv  /     ext4     defaults              0       1
UUID=d390f0f8-8575-42e6-9852-1f7ed26ce84b /boot ext4 defaults     0       2
UUID=97AD-8FE1               /boot/efi vfat defaults              0       2
/dev/linuxconfig_vg/home_lv  /home ext4     defaults              0       2
/dev/linuxconfig_vg/swap_lv  swap  swap     defaults              0       0
Configuring GRUB
To make the system prompt us for the LUKS password at boot, and activate all LVM logical volumes automatically, we must modify the GRUB configuration. First of all we must find the UUID of the LUKS encrypted-partition (/dev/vda3 in this case). We can do it with the blkid command:
[xchroot /mnt/target] # blkid -o value -s UUID /dev/vda3
Keep note of the UUID returned by the command above: we need to use it as the value of the
rd.luks parameter in the GRUB configuration. We open the /etc/default/grub file, and modify the value of the “GRUB_CMDLINE_LINUX_DEFAULT” variable, so that it looks this way:
GRUB_CMDLINE_LINUX_DEFAULT="loglevel=4 rd.luks.uuid=cdd57f06-4879-41a1-83dd-6cb0af2a7078 rd.lvm.vg=linuxconfig_vg
Both rd.luks.uuid and rd.lvm.vg are dracut command line arguments. We use the former to specify the UUID of the LUKS container we want to unlock at boot and the latter to activate all the logical volumes which are part of the specified LVM volume group. To install Grub and generate its configuration, we run:
[xchroot /mnt/target] # grub-install --target=x86_64-efi --efi-dir=/boot/efi
[xchroot /mnt/target] # grub-mkconfig -o /boot/grub/grub.cfg
Reconfiguring packages and re-generating the initramfs
We are almost ready. We just need to generate the initramfs (so that it includes LVM and cryptsetup), and reconfigure all installed packages. In order to do that, we can use the following command:
# xbps-reconfigure -fa
The command above forcibly runs post-installation scripts included in all installed packages, even those already marked as configured.
Exiting chroot and rebooting
At this point we can exit the chroot and reboot:
[xchroot /mnt/target] # exit
# reboot
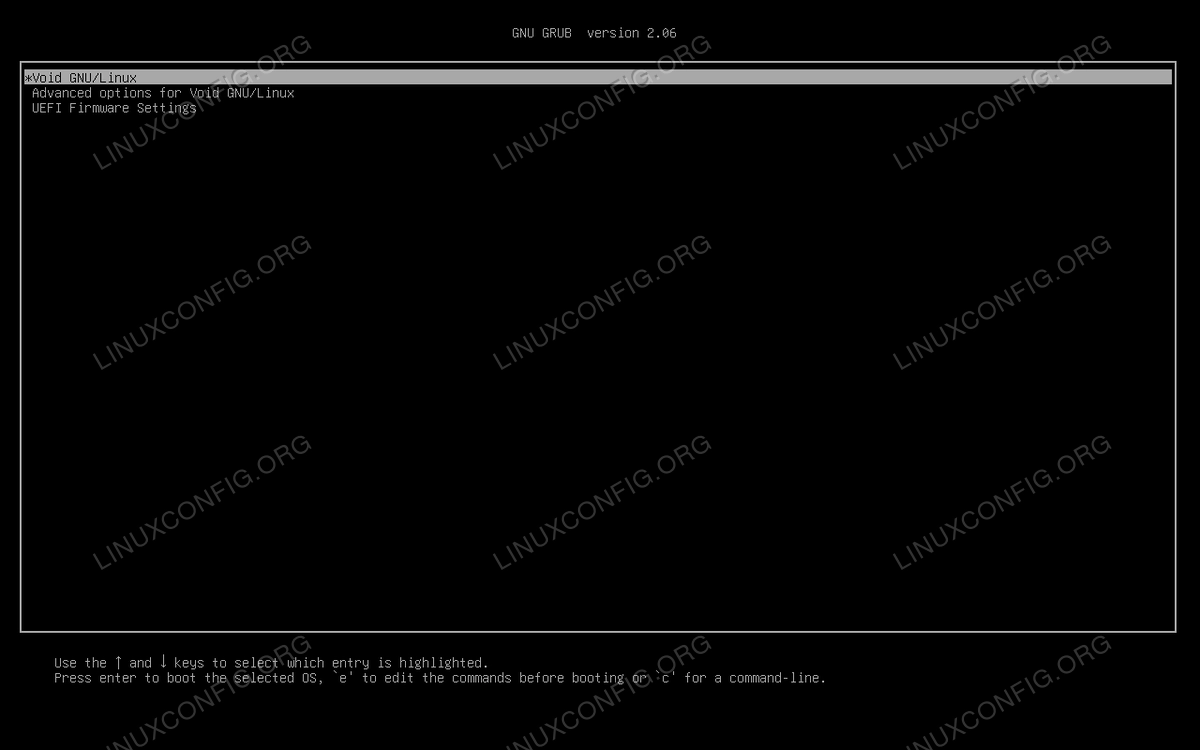
If everything goes as expected, we should see the Void Linux GRUB menu:
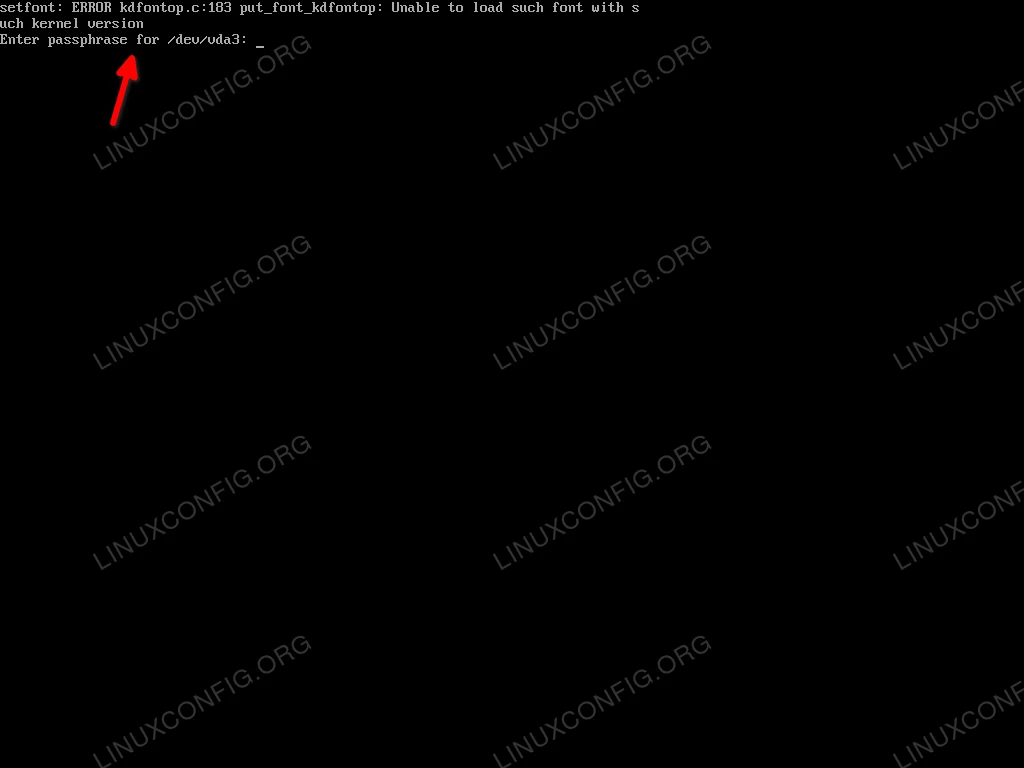
The system will ask for the LUKS password during boot:
Conclusions
Void Linux is one of the few Systemd-free Linux distributions: it uses Runit as init system and service supervisor and strives to be simple and modular. In this tutorial we saw how to install the distribution with an LVM on LUKS encryption setup, something which cannot be performed directly from the official installation script.