When it comes to tidying up your hard drive on Linux, either to free up space or to become more organized, it’s helpful to identify which files are consuming the most storage space.
In this guide, we’ll show you how to identify the largest files on your Linux system, through both command line and GUI methods. You can also see our other guide on checking disk usage by folder if you’d like to identify hefty directories instead of individual files.
In this tutorial you will learn:
- How to find large files via command line with
find - How to find large files via GUI with QDirStat
| Category | Requirements, Conventions or Software Version Used |
|---|---|
| System | Any Linux distro |
| Software | find, QDirStat |
| Other | Privileged access to your Linux system as root or via the sudo command. |
| Conventions | # – requires given linux commands to be executed with root privileges either directly as a root user or by use of sudo command$ – requires given linux commands to be executed as a regular non-privileged user |
How to find large files via command line
The best Linux command we have at our disposal to locate large files is the find command. find has options that can be used to find files based on file size. Let’s look at a few examples.
Note that in the following examples, we’ll use find to search our present working directory, which is represented as .. Of course, you may specify any directory that you wish to search, and find will recursively search for the files you want.
- This command will look for files that are 100MB in size. Notice we use an
Mto specify megabytes.$ find . -size 100M
- This command will look for files that are greater than 5GB in size. We use the
+to specify “greater than” and aGfor gigabytes.$ find . -size +5G
- We can also use the
-symbol to search for files under a certain size.$ find . -size -5M
- The
+and-parameters can be used in tandem to search for files in a certain size range. For example, let’s locate files that are between 2GB and 5GB.$ find . -size +2G -size -5G
- One problem with the
findcommand in this case is that it doesn’t reveal the file sizes of the files it finds. Using the following command, we can execute thelscommand wheneverfindcomes across a file matching our criteria. This will search for files greater than 2GB, while showing us the size of the files.$ find . -size +2G -exec ls -sh1 {} + 8.2G ./AlmaLinux-8.3-beta-1-x86_64-dvd1.iso 4.5G ./CentOS-7-x86_64-DVD-2003.iso 7.7G ./CentOS-8.2.2004-x86_64-dvd1.iso 8.7G ./OracleLinux-R8-U3-x86_64-dvd.iso 4.1G ./Parrot-security-4.10_amd64.iso 2.6G ./deepin-desktop-community-1002-amd64.iso 3.7G ./kali-linux-2020.3-installer-amd64.iso 2.8G ./kali-linux-2020.4-live-i386.iso 2.4G ./kubuntu-20.04.1-desktop-amd64.iso 2.9G ./manjaro-kde-20.1.2-201019-linux58.iso 4.0G ./openSUSE-Leap-15.2-DVD-x86_64.iso 2.2G ./pop-os_20.04_amd64_intel_13.iso 6.7G ./rhel-8.0-x86_64-dvd.iso 2.6G ./slackware64-14.2-install-dvd.iso 2.6G ./ubuntu-20.04.1-desktop-amd64.iso 2.8G ./ubuntu-20.10-desktop-amd64.isoAs you can see, this output is much more helpful in identifying large files than the previous examples.
- One problem with the previous example is that the files aren’t sorted by size. If we have a lot of returned results, it can be difficult to see which ones are the biggest. That’s where the
sortcommand becomes helpful. Notice the-roption for sort, which will instruct it to list biggest files at the top. The-hoption is for human-readable, and is necessary if we’re using the same-hoption in thelscommand.$ find . -size +2G -exec ls -sh1 {} + | sort -r -h 8.7G ./OracleLinux-R8-U3-x86_64-dvd.iso 8.2G ./AlmaLinux-8.3-beta-1-x86_64-dvd1.iso 7.7G ./CentOS-8.2.2004-x86_64-dvd1.iso 6.7G ./rhel-8.0-x86_64-dvd.iso 4.5G ./CentOS-7-x86_64-DVD-2003.iso 4.1G ./Parrot-security-4.10_amd64.iso 4.0G ./openSUSE-Leap-15.2-DVD-x86_64.iso 3.7G ./kali-linux-2020.3-installer-amd64.iso 2.9G ./manjaro-kde-20.1.2-201019-linux58.iso 2.8G ./ubuntu-20.10-desktop-amd64.iso 2.8G ./kali-linux-2020.4-live-i386.iso 2.6G ./ubuntu-20.04.1-desktop-amd64.iso 2.6G ./slackware64-14.2-install-dvd.iso 2.6G ./deepin-desktop-community-1002-amd64.iso 2.4G ./kubuntu-20.04.1-desktop-amd64.iso 2.2G ./pop-os_20.04_amd64_intel_13.iso - Okay, but that’s a lot of results. What if we just need to identify the top 3 biggest files? In that case, let’s pipe to the
headcommand.$ find . -size +5G -exec ls -sh1 {} + | sort -r -h | head -3 8.7G ./OracleLinux-R8-U3-x86_64-dvd.iso 8.2G ./AlmaLinux-8.3-beta-1-x86_64-dvd1.iso 7.7G ./CentOS-8.2.2004-x86_64-dvd1.iso
That’s all there is to it. Using the find command, and optionally the sort and head commands should help you find all the biggest files in a directory, or on your entire system.
How to find large files via GUI
Sometimes it’s easier to visualize disk usage if we use a GUI utility. One such application is called QDirStat, but it may not be installed by default on your Linux distro. Use the appropriate command below to install it with your system’s package manager.
To install QDirStat on Ubuntu, Debian, and Linux Mint:
$ sudo apt install qdirstat
To install QDirStat on Fedora:
$ sudo dnf install qdirstat
To install QDirStat on Arch Linux and Manjaro:
$ git clone https://aur.archlinux.org/qdirstat.git
$ cd qdirstat
$ makepkg -si
If QDirStat isn’t available from your distro’s repositories, you may need to download and compile it manually.
$ git clone https://github.com/shundhammer/qdirstat.git
$ cd qdirstat
$ qmake
$ make
$ sudo make install
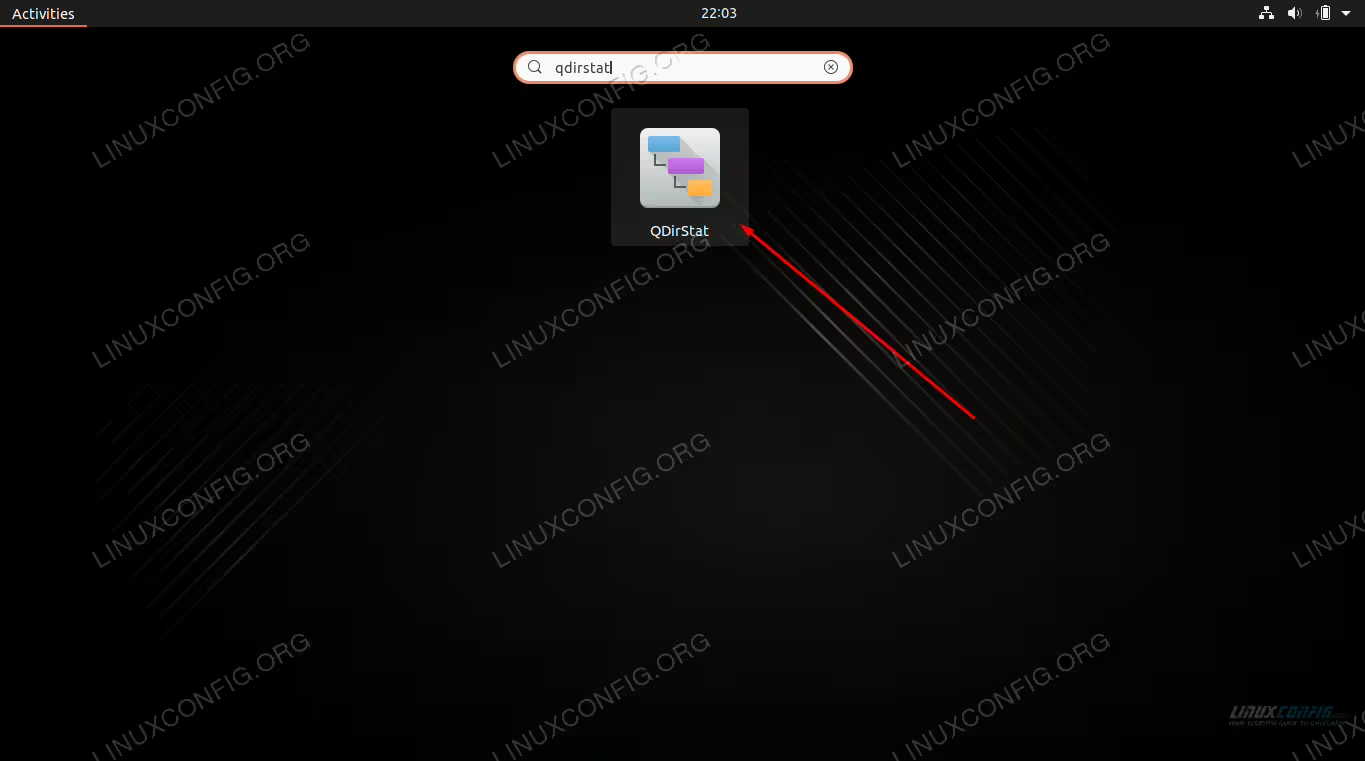
After it’s installed, search for and open the application.
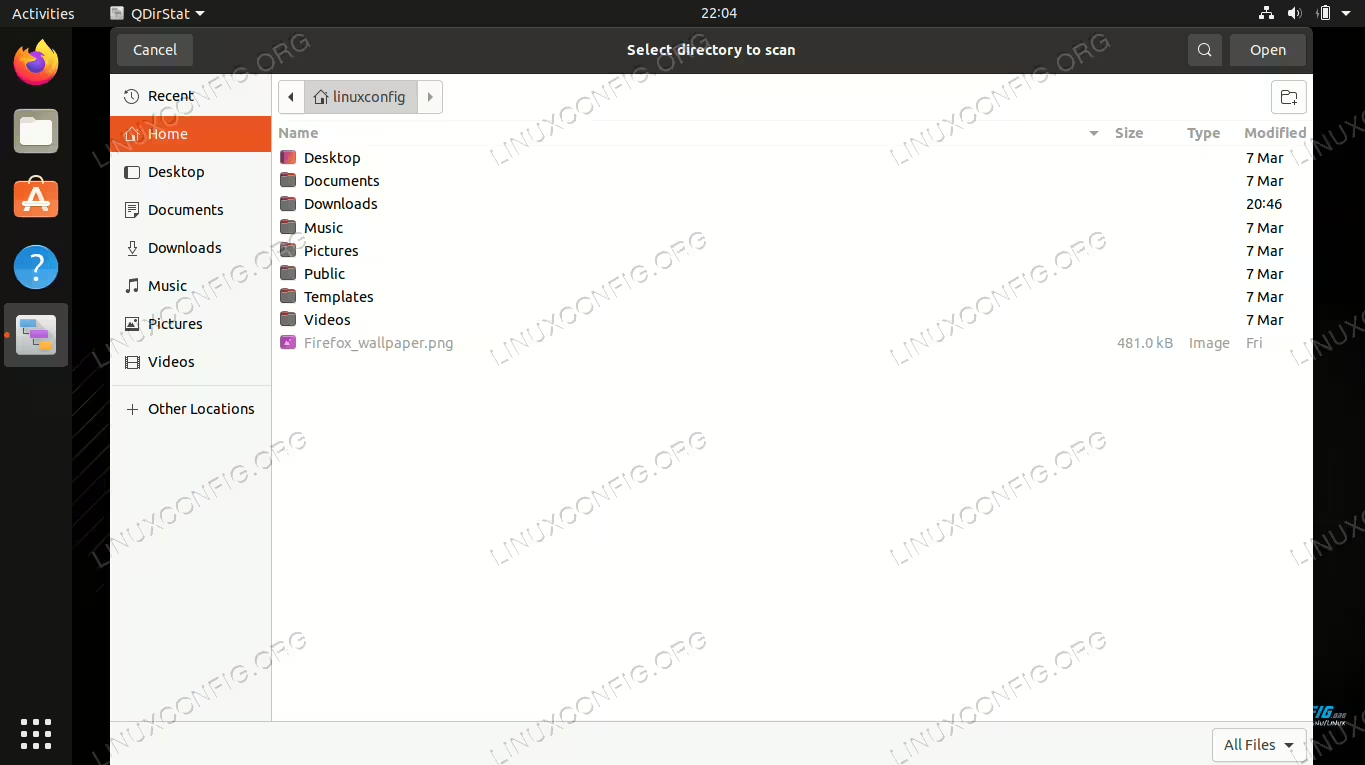
When the program opens, you will need to select what directory you want to scan.
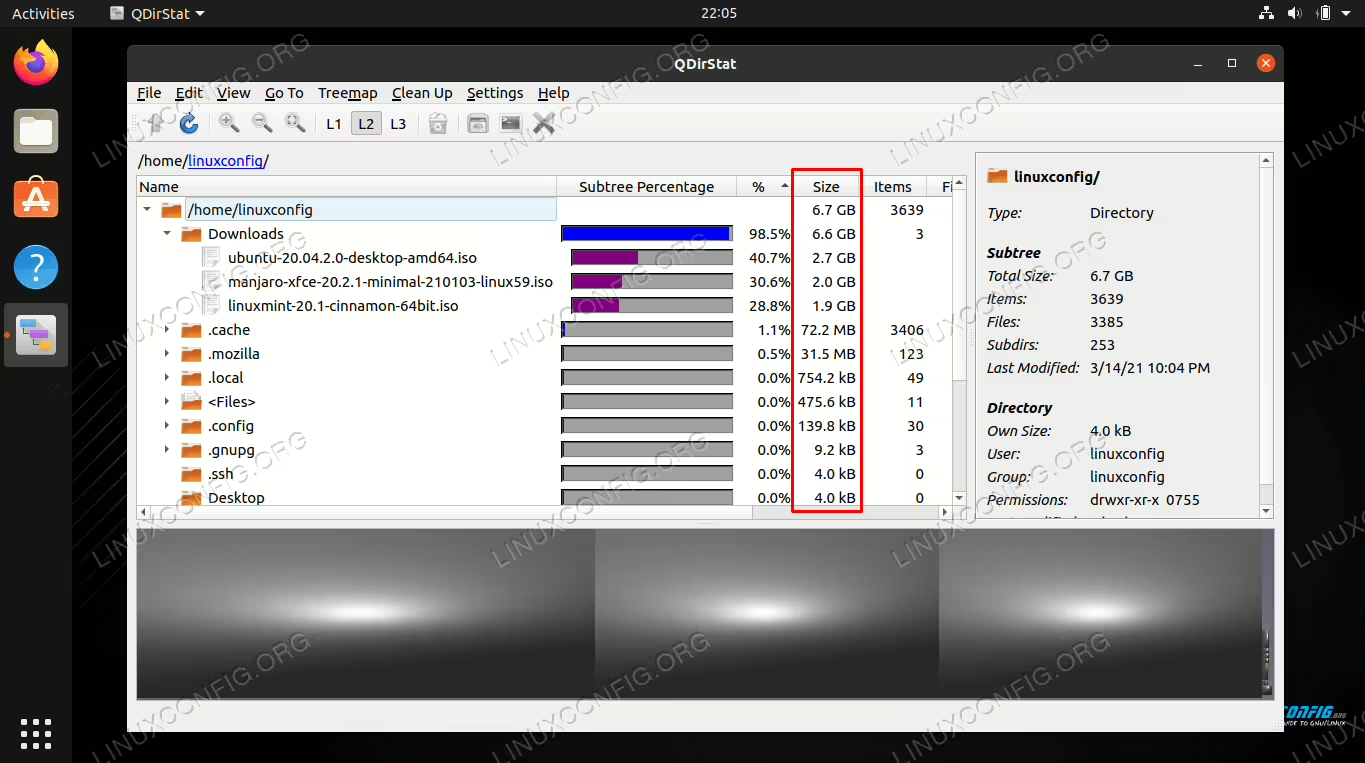
Make your selection and the utility will begin scanning for files. Once it finishes scanning for content, it’ll give you a full readout of how your hard disk space is being distributed to various directories and their files on your system. It lists directories and files by size, so you can quickly determine what’s chewing up the most disk space.
Closing Thoughts
In this guide, we saw how to find large files on Linux. We also learned how to search for files of a specific size, and sort files largest to smallest. Both the GUI and the command line are able to give us a quick summary of storage usage, or detailed breakdowns of how storage space is being used by various files on our system.