Among the GPIO pins on the Raspberry Pi are two that are capable of UART (Universal Asynchronous Receiver/Transmitter). UART is a serial connection which, when utilized on the Raspberry Pi, can send data between the Raspberry Pi and an external device. It is one of simplest connection types available on Raspberry Pi, which means it is easy to use but also more limited in functionality.
To get started with using UART, it first needs to be enabled. In this tutorial, we will go through the step by step instructions of enabling UART on the Raspberry Pi model 4. After it is enabled, you will be able to plug in your serial device and use the Raspberry Pi to issue commands and get data back from the external device. Follow along with us to see how!
In this tutorial you will learn:
- How to enable UART on Rasperry Pi 4
- How to interface with serial device on UART pins

| Category | Requirements, Conventions or Software Version Used |
|---|---|
| System | Raspberry Pi |
| Software | minicom |
| Other | Privileged access to your Linux system as root or via the sudo command. |
| Conventions |
# – requires given linux commands to be executed with root privileges either directly as a root user or by use of sudo command$ – requires given linux commands to be executed as a regular non-privileged user |
Enable UART for Raspberry Pi 4 – step by step instuctions
In the steps below, you will see how to enable UART on the Raspberry Pi, and then open up a line of communication to the serial device plugged into your Raspberry Pi.
Your serial device should operate at 3.3V if you are connecting it to the Raspberry Pi GPIO pins. UART uses GPIO 14 and 15 (TXD and RXD, respectively) on the Raspberry Pi 4.
- Start by opening a terminal and launching the Raspberry Pi configuration tool by executing the
raspi-configcommand, then select Interface Options (number 3):$ sudo raspi-config
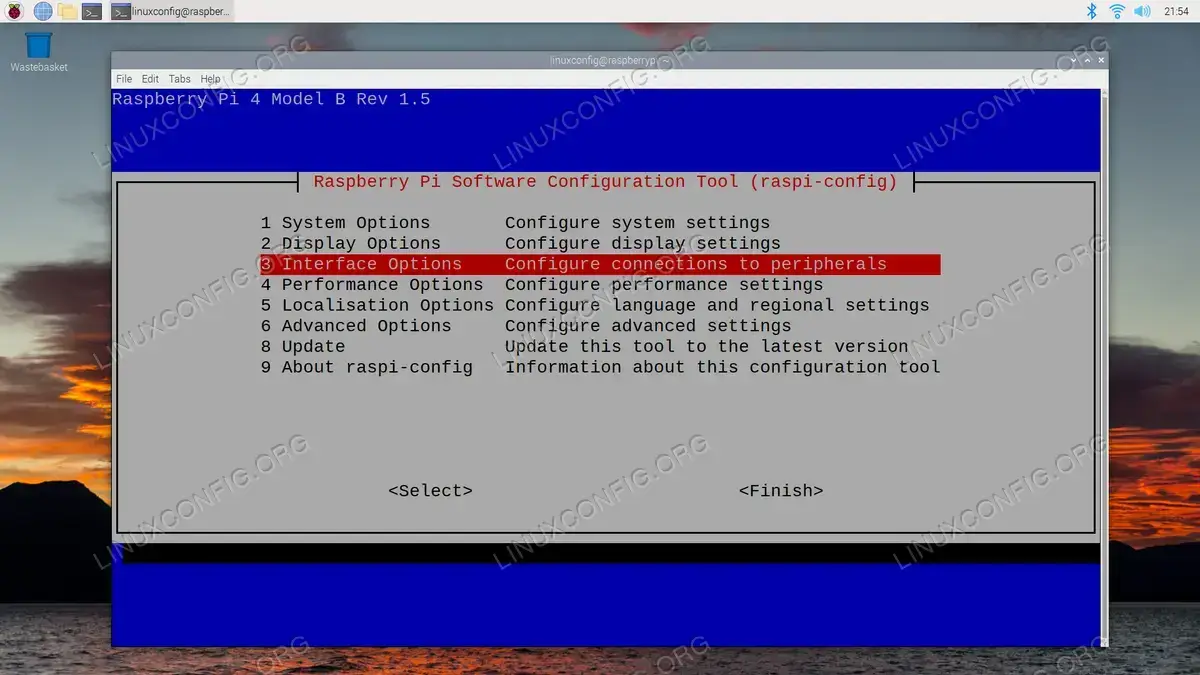
Selecting the interface options from Raspberry Pi config tool - Next, use the arrow keys to select the ‘Serial Port’ connection:
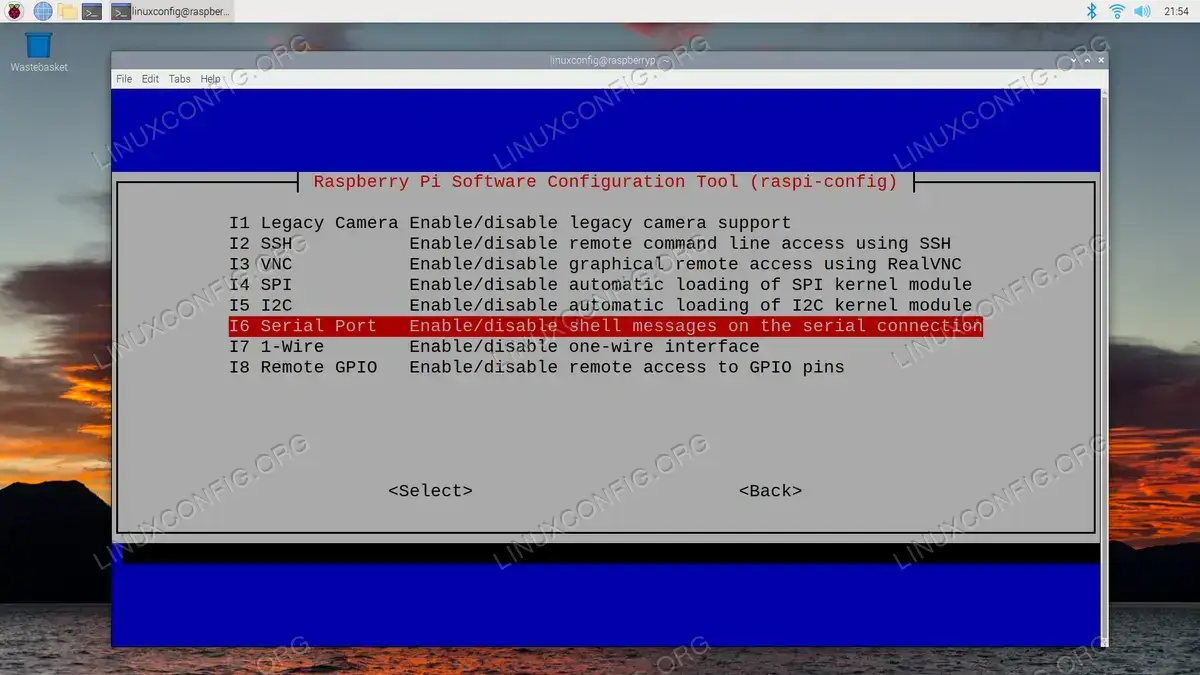
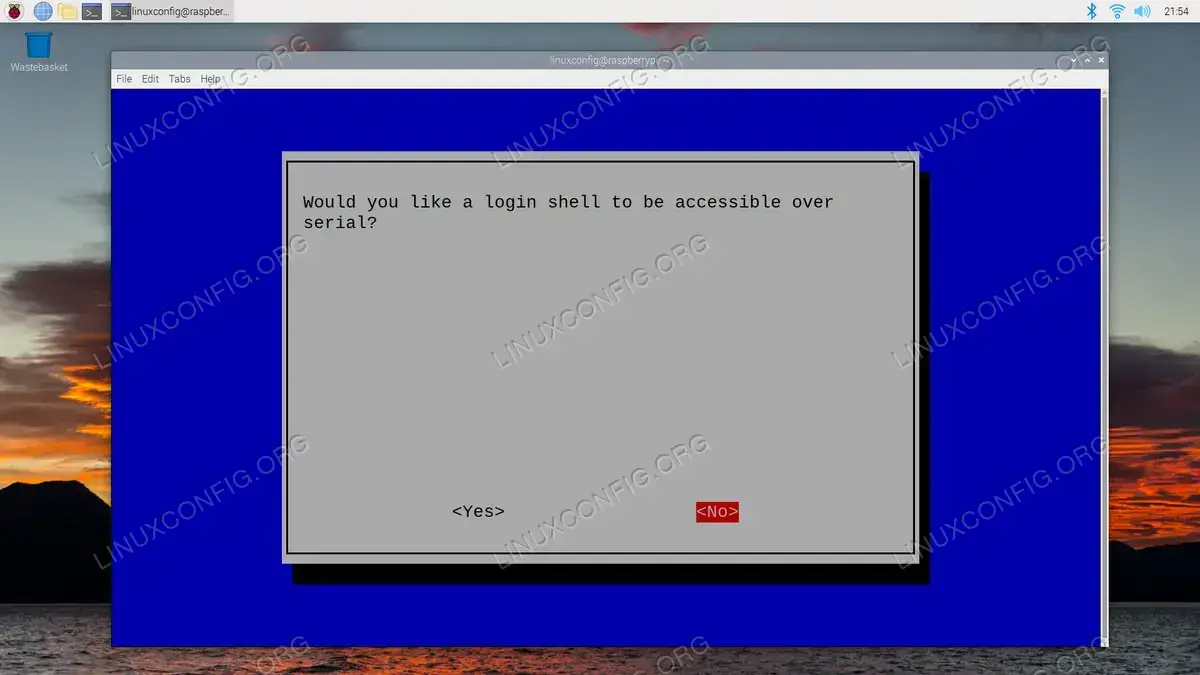
Navigating to the Serial Port option in Raspberry Pi config tool - The next option that will appear is asking if you want to have a login shell accessible over the serial connection. It is up to you how to answer this question, but we will select ‘No’.
Choose whether to enable a login shell over serial connection - The next menu is the critical setting. This prompt will ask you whether or not you want the serial hardware to be enabled. Select
Yesand pressEnter.
Enabling serial connection in the Raspberry Pi config tool
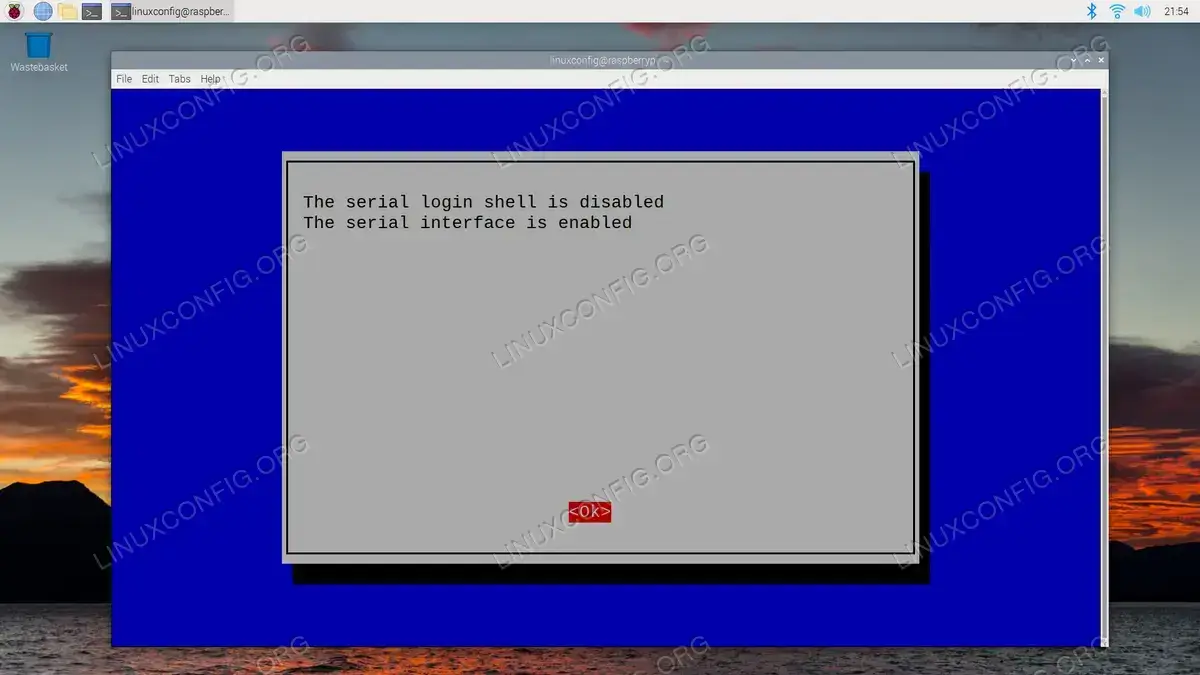
- The window that follows will give you a summary of the settings that were just configured. In our case, we chose to disable the serial login shell, while enabling the serial interface itself.
Summary of serial connection settings for the Raspberry Pi - Select
Finishon the main menu of the Raspberry Pi configuration tool, which will then give you a prompt to reboot the device. We must fully reboot for these new changes to take effect, so selectYes.
Reboot the Raspberry Pi in order for the serial changes to take effect - Upon loading back into the Raspberry Pi after the reboot, we can open a command line terminal and check the
/boot/config.txtfile to see that UART has now been enabled:$ tail /boot/config.txt ... enable_uart=1
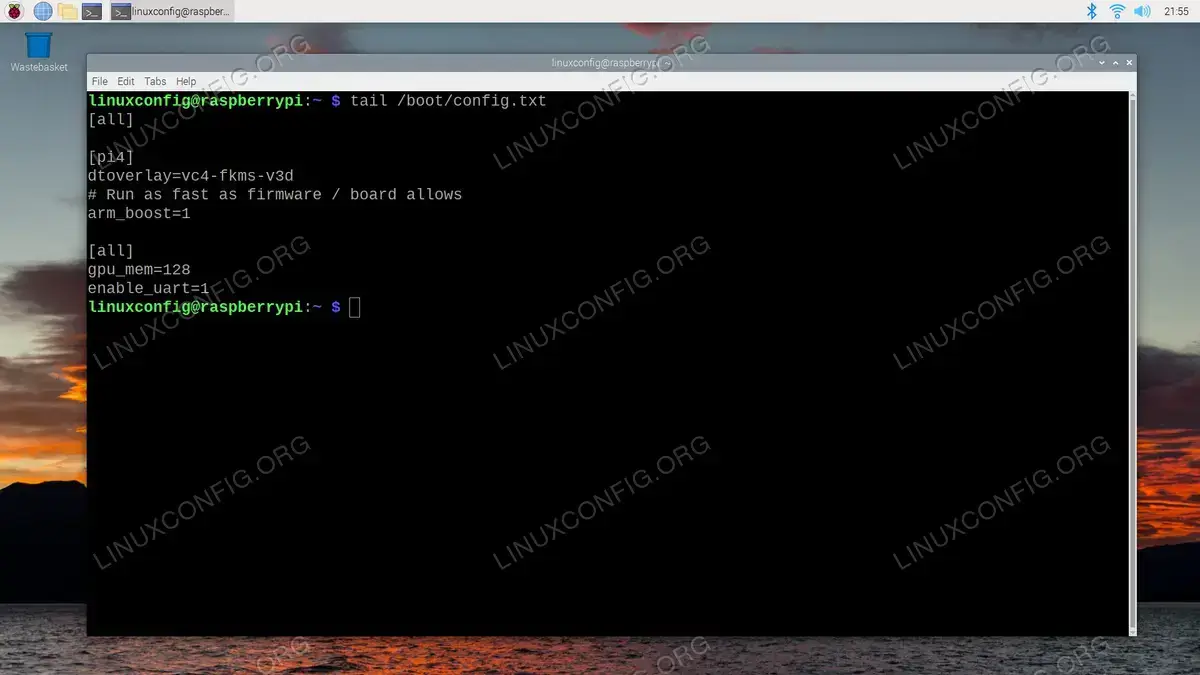
Verifying that UART has now been enabled on the Raspberry Pi 4 - The device path for the serial connection is
/dev/ttyS0on the Raspberry Pi 4. You can see this device by looking inside of the/devdirectory:$ ls -l /dev/tty*

Checking the device path to serial connection - To begin interacting with the device, one method we can use is the
minicomcommand. First, we must execute the following command to install the required package:$ sudo apt update $ sudo apt install minicom
- After installation completes, we can interface with our serial device by executing:
$ minicom -D /dev/ttyS0
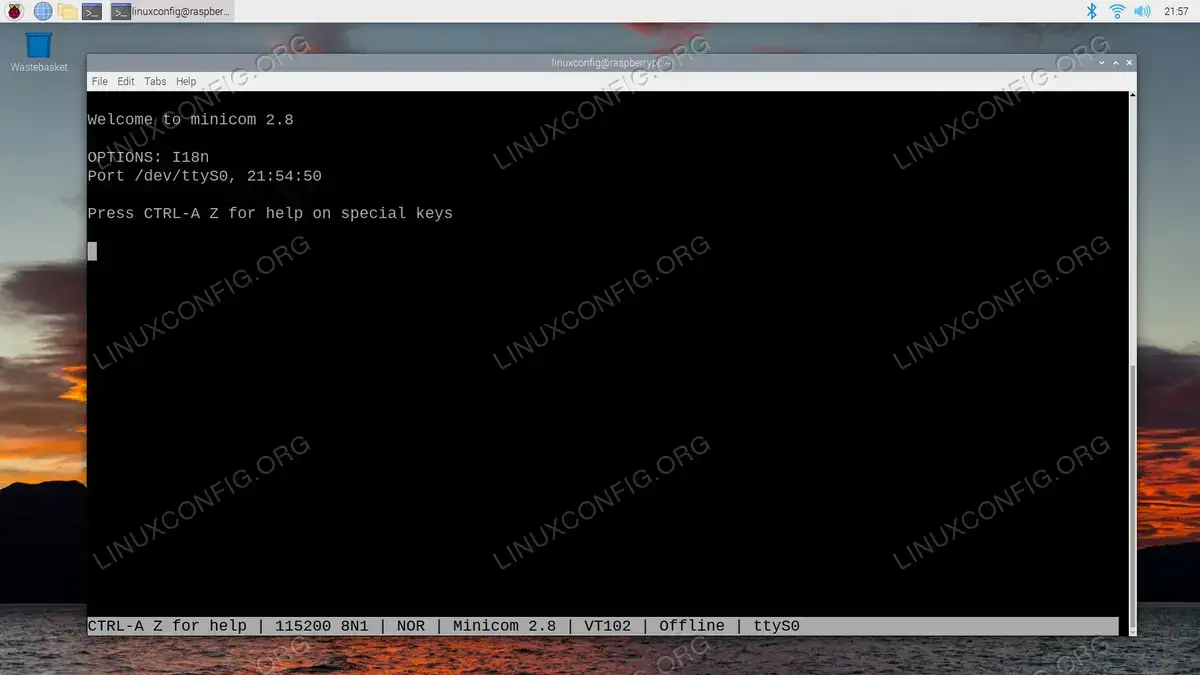
Interfacing with the serial device after enabling UART on Raspberry Pi 4 You can now send commands and receive data from the serial device if it is plugged into the Raspberry Pi.
Closing Thoughts
In this tutorial, we saw how to enable UART on a Raspberry Pi 4. Enabling UART will allow users to plug in serial devices and communicate with them via GPIO pins 14 and 15. Using such external devices allows us to extend the functionality of the Raspberry Pi, making it useful for a broad number of functions that exceed basic computing and Linux in general.