Temporal is a durable workflow engine designed for building reliable, fault-tolerant, and scalable distributed systems. Instead of managing complex business processes with fragile state machines or message queues, Temporal allows you to model long-running processes as code while automatically handling retries, state persistence, and failure recovery. When combined with Spring Boot, Temporal integrates seamlessly into modern Java applications, providing clean configuration, dependency injection, and easy testability.
In this blog post, we explore how to use the Temporal Workflow Engine with Spring Boot using the official Spring Boot integration from the Temporal Java SDK.
1. What Is Temporal and Why Use It?
Temporal is an open-source, distributed workflow orchestration platform built around a workflow-as-code approach. It offers a programming model for orchestrating long-running business workflows that must survive crashes, restarts, and network failures.
Temporal supports multiple languages, including Go, Java, Python, PHP, and TypeScript, making it suitable for diverse technology stacks. When a workflow is started, the Temporal Server coordinates its execution across a distributed system while hiding much of the operational complexity.
Temporal automatically handles failure scenarios that are traditionally hard to implement correctly, such as retries, state persistence, timeouts, backpressure, and rate limiting. Workflow logic runs on Temporal Workers, while external side effects are executed as Activities, keeping workflows deterministic and reliable.
To ensure durability, Temporal uses an event-sourced execution model. The server persists workflow state as a sequence of events and relies on deterministic replay to recover from crashes or restarts. This guarantees that workflows can resume exactly where they left off, providing strong fault tolerance and consistency.
2. Example Scenario: Document Approval Workflow
We’ll use a Document Approval workflow as the example throughout this article. In this workflow, a document goes through three steps: validation, approval, and archival. Each step is implemented as a Temporal activity, while the workflow coordinates the overall process.
This scenario demonstrates how Temporal workflows can handle multiple actions over time and remain resilient to failures. For example, if the application crashes after validation but before archival, Temporal resumes execution from the last successful step.
3. Project Setup and Dependencies
Start by creating a Spring Boot project and adding the Temporal Spring Boot starter dependency.
        <dependency>
            <groupId>io.temporal</groupId>
            <artifactId>temporal-spring-boot-starter</artifactId>
            <version>1.32.0</version>
        </dependency>
This setup brings in the Temporal Java SDK along with Spring Boot auto-configuration support. The starter automatically creates Temporal clients and workers based on application properties, letting us focus on workflow logic.
4. Application Configuration
Temporal is configured using standard Spring Boot configuration files. At a minimum, we must define the Temporal server address.
spring:
  application:
    name: spring-boot-temporal-workflow
  temporal:
    connection:
      target: localhost:7233
    workers-auto-discovery:
      packages:
        - "com.jcg.example"
This configuration tells Spring Boot how to connect to the Temporal server and which task queue the worker should listen to. Under the temporal section, the connection.target property defines how the application connects to the Temporal Server.
The workers-auto-discovery.packages enables automatic scanning of the specified package for workflow and activity implementations, allowing the Temporal Spring Boot starter to register them automatically without manual worker setup.
5. Defining the Workflow Interface
Every Temporal workflow starts with an interface defining the workflow entry point. This interface acts as a contract between the workflow implementation and its callers.
@WorkflowInterface
public interface DocumentApprovalWorkflow {

    @WorkflowMethod
    void processDocument(String documentId);

    @SignalMethod
    void approve();

    @SignalMethod
    void reject(String reason);

    @QueryMethod
    String getStatus();

    @QueryMethod
    String getRejectionReason();
}
The @WorkflowInterface and @WorkflowMethod annotations mark this interface as a Temporal workflow. Temporal uses this metadata to generate stubs and manage workflow execution. The method signature defines the input and represents the workflow’s full lifecycle.
The @SignalMethod annotations define messages that can be sent to a running workflow, while @QueryMethod annotations expose read-only access to the workflow’s internal state.
6. Defining Activities
Activities encapsulate non-deterministic operations such as database access, notifications, file storage, and external service calls, which must not be executed directly within workflow code. They contain the business logic responsible for interacting with external systems and performing I/O, and are defined through a separate interface to keep workflows deterministic and reliable.
@ActivityInterface
public interface DocumentActivities {

    @ActivityMethod
    void persistDocument(String documentId);

    @ActivityMethod
    void archiveDocument(String documentId);

    @ActivityMethod
    void sendNotification(String message);
}
Each activity represents a discrete, retryable unit of work executed outside the workflow’s deterministic context.
7. Implementing Activities
Activity implementations are regular Spring components. This allows us to inject repositories, clients, or other services using standard Spring mechanisms.
@Component
@ActivityImpl(taskQueues = "document-approval-task-queue")
public class DocumentActivitiesImpl implements DocumentActivities {

    @Override
    public void persistDocument(String documentId) {
        System.out.println("Persisting document " + documentId);
    }

    @Override
    public void archiveDocument(String documentId) {
        System.out.println("Archiving document " + documentId);
    }

    @Override
    public void sendNotification(String message) {
        System.out.println("Sending notification: " + message);
    }
}
8. Implementing the Workflow
The workflow implementation coordinates the sequence of steps. Workflow code must be deterministic and should delegate side effects to activities.
@Service
@WorkflowImpl(taskQueues = "document-approval-task-queue")
public class DocumentApprovalWorkflowImpl implements DocumentApprovalWorkflow {

    private volatile String status = "PENDING";
    private volatile String rejectionReason;

    private final Supplier<DocumentActivities> activities;

    public DocumentApprovalWorkflowImpl() {
        this.activities
                = () -> Workflow.newActivityStub(
                        DocumentActivities.class,
                        ActivityOptions.newBuilder()
                                .setStartToCloseTimeout(Duration.ofSeconds(10))
                                .setRetryOptions(RetryOptions.newBuilder()
                                        .setMaximumAttempts(3)
                                        .setInitialInterval(Duration.ofSeconds(1))
                                        .build())
                                .build()
                );
    }

    @Override
    public void processDocument(String documentId) {

        var activity = activities.get();

        // Persist document synchronously (safe, deterministic)
        activity.persistDocument(documentId);

        // Notify reviewers asynchronously
        Async.function(() -> {
            activity.sendNotification("Document submitted for approval: " + documentId);
            return null;
        });

        // Wait until a signal changes the workflow state
        Workflow.await(() -> !"PENDING".equals(status));

        if ("APPROVED".equals(status)) {
            activity.archiveDocument(documentId);
            activity.sendNotification("Document approved: " + documentId);
        }

        if ("REJECTED".equals(status)) {
            activity.sendNotification(
                    "Document rejected: " + rejectionReason
            );
        }
    }

    @Override
    public void approve() {
        status = "APPROVED";
    }

    @Override
    public void reject(String reason) {
        status = "REJECTED";
        rejectionReason = reason;
    }

    @Override
    public String getStatus() {
        return status;
    }

    @Override
    public String getRejectionReason() {
        return rejectionReason;
    }
}
This implementation creates an activity stub with retry and timeout behaviour defined via ActivityOptions. Each activity call represents a durable workflow step. Temporal handles retries and resumes execution if failures occur.
The processDocument method defines a simple document approval workflow using Temporal. It first obtains an activity stub and persists the document via an activity, which is safe and deterministic because Temporal records the result. A notification is then sent asynchronously to inform reviewers that the document was submitted, allowing the workflow to continue without waiting.
The workflow pauses using Workflow.await until an external signal changes the document status from PENDING. This wait is non-blocking and can last indefinitely without consuming resources. Once the status changes, the workflow executes the appropriate path: archiving the document and sending an approval notification if approved, or sending a rejection notification with a reason if rejected.
9. Interacting with the Workflow via REST
To trigger the workflow, we expose a REST endpoint that uses the Temporal client to start a new workflow execution.
@RestController
@RequestMapping("/documents")
public class DocumentController {

    private final WorkflowClient workflowClient;

    public DocumentController(WorkflowClient workflowClient) {
        this.workflowClient = workflowClient;
    }

    @PostMapping("/start")
    public String start(@RequestParam String documentId) {

        DocumentApprovalWorkflow workflow =
                workflowClient.newWorkflowStub(
                        DocumentApprovalWorkflow.class,
                        WorkflowOptions.newBuilder()
                                .setWorkflowId("doc-" + documentId)
                                .setTaskQueue("document-approval-task-queue")
                                .build()
                );

        WorkflowClient.start(workflow::processDocument, documentId);
        return "Workflow started for document " + documentId;
    }

    @PostMapping("/{id}/approve")
    public void approve(@PathVariable String id) {
        workflowClient
                .newWorkflowStub(DocumentApprovalWorkflow.class, "doc-" + id)
                .approve();
    }

    @GetMapping("/{id}/status")
    public Map<String, String> status(@PathVariable String id) {

        DocumentApprovalWorkflow workflow =
                workflowClient.newWorkflowStub(
                        DocumentApprovalWorkflow.class, "doc-" + id
                );

        return Map.of("status", workflow.getStatus());
    }
}
This controller creates a workflow stub and starts execution asynchronously. The HTTP request returns immediately, while the workflow continues running in the background. Temporal ensures that the workflow progresses reliably, even if the application restarts.
10. Running the Application
To run the application locally, you need a Temporal server. The easiest way is to start Temporal using Docker.
docker run --rm -p 7233:7233 -p 8233:8233 temporalio/temporal server start-dev --ip 0.0.0.0
When this command is executed, Docker starts a local Temporal development server and exposes the gRPC and Web UI ports to the host machine. The console output shows the Temporal Server bootstrapping its internal services along with log messages confirming the creation of the default namespace.
CLI 1.5.1 (Server 1.29.1, UI 2.42.1)

Server:  0.0.0.0:7233
UI:      http://0.0.0.0:8233
Metrics: http://0.0.0.0:42729/metrics
Once startup completes, the server listens on port 7233 for client and worker connections, while the Temporal Web UI becomes accessible on port 8233, indicating that the environment is ready to accept workflow executions.
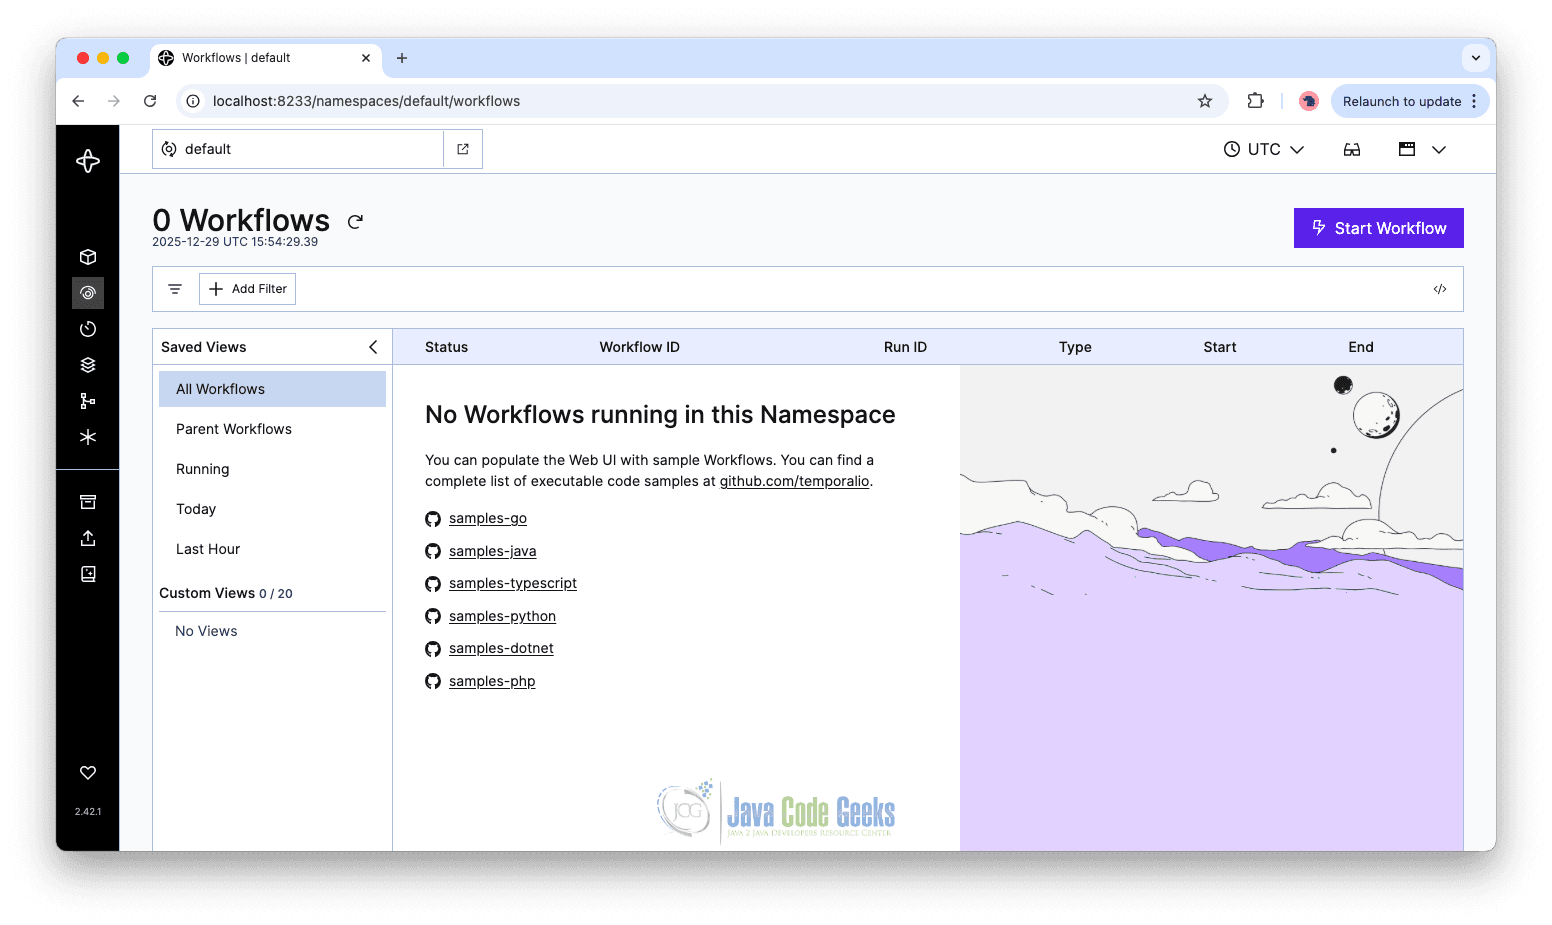
You can observe workflow executions and activity progress using the Temporal Web UI, which provides visibility into state, retries, and execution history.
10.1 Demonstrating the Output
Expected Workflow Behaviour
# Start workflow
curl -X POST "http://localhost:8080/documents/start?documentId=55"

# Check status (returns PENDING)
curl -X GET "http://localhost:8080/documents/55/status"
# {"status":"PENDING"}

# Approve workflow
curl -X POST "http://localhost:8080/documents/55/approve"

# Check status again (returns APPROVED)
curl -X GET "http://localhost:8080/documents/55/status"
# {"status":"APPROVED"}
Logs
Persisting document 55
Archiving document 55
Sending notification: Document submitted for approval: 55
Sending notification: Document approved: 55
11. Conclusion
In this blog post, we explored how to use the Temporal Workflow Engine with Spring Boot using the official Java SDK and Spring Boot integration. By modeling a document approval process as a workflow, we demonstrated how Temporal enables reliable orchestration of long-running business logic. With minimal configuration and clean separation between workflows and activities, Temporal fits naturally into Spring Boot applications and provides a robust foundation for building resilient distributed systems.
12. Download the Source Code
This article explored using the Temporal Workflow Engine with Spring Boot.
You can download the full source code of this example here: spring boot temporal workflow engine
