John the Ripper is one of the most popular and effective password-cracking tools available today. Originally developed for the Unix operating system, John the Ripper is now compatible with over fifteen different platforms, including various versions of Unix, Windows (Win32), DOS, BeOS, and OpenVMS. This powerful program consolidates multiple password crackers into a single package, supports automatic password hash type detection, and offers customizable cracking options, making it a go-to tool for security testing.
John the Ripper is a rapid password breaker that works on a variety of Unix, Windows, DOS, BeOS, and OpenVMS systems. Its main goal is to identify weak Unix passwords. Apart from multiple crypts (3) password hash types typically found on various Unix systems, Windows LM hashes, as well as a variety of additional hashes and ciphers, are supported out of the box.
Now, let's get started with the installation process.
Installing John the Ripper in Ubuntu
We can download the John the Ripper package in 2 ways:
Table of Content
Let's go through both the installation methods one by one.
Method 1: Using APT Package Manager
The first method to install John the Ripper on Ubuntu is by using the APT package manager, which is the default package management system for Debian-based distributions like Ubuntu.
Step 1: Launch Terminal and Update Packages
Launch your system terminal and enter the following command to change your working directory to /opt. This should work for most Linux systems.
John The Ripper can be set up in a variety of ways. We may use apt-get or snap to install it, to name a few. Run the following commands from the terminal.
sudo apt-get install john -y
This ensures that your package manager has the latest information about the available packages.
Step 2: Install John the Ripper
This will start the installation procedure. When it's done, type 'john' into the terminal.
john
This command will launch John the Ripper, and you should see its options and usage instructions displayed in the terminal. Now, you're ready to start using John the Ripper for password cracking and security testing.
Method 2: Using Snap Utility
Snap is a universal package manager that works on many Linux distributions, allowing you to install software in isolated containers. This method ensures that you're installing the latest version of John the Ripper.
Step 1: Install Snapd
Execute the below command in the terminal to install the snapd on the system.
sudo apt install snapd
Step 2: Install John the Ripper via Snap
Once snapd is installed, you can proceed to install John the Ripper using Snap by running this command:
sudo snap install john-the-ripper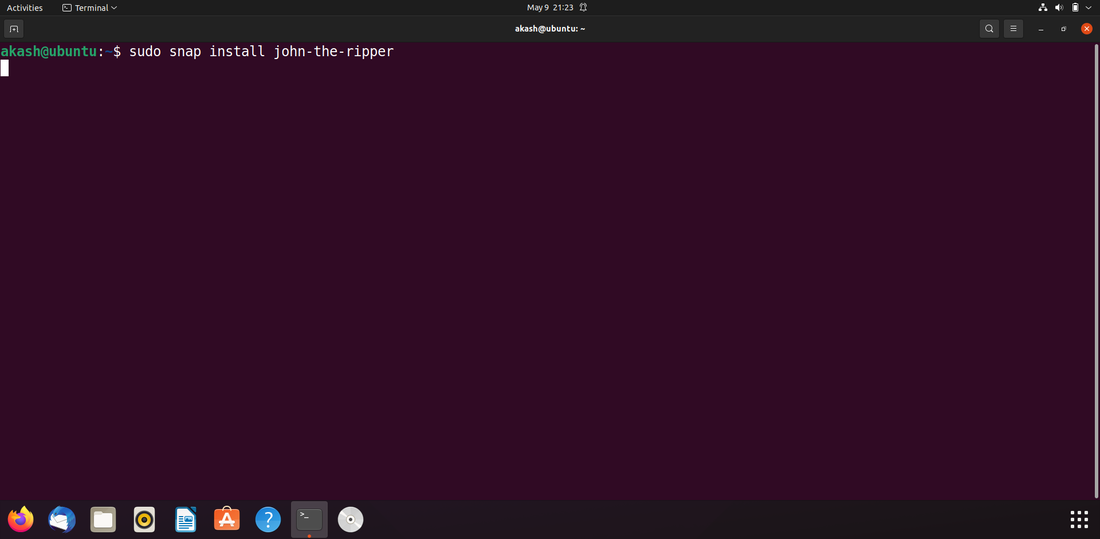
Step 3: Launch John the Ripper
Now, type the following command and press enter to 'launch John-the-ripper tool'.
johnThis will bring up the John the Ripper tool in your terminal, and you can begin using it for password security testing.
Conclusion
John the Ripper is a powerful tool for password security testing, capable of cracking a wide variety of password hashes across different platforms. John the Ripper is an essential tool in your cybersecurity toolkit whether you’re testing the security of your own systems or conducting authorized penetration testing. By following the steps outlined in this guide, you can easily install and start using John the Ripper on your Ubuntu system.