
Heart-pounding! A First! Creating a Wedding Video for a Friend

Hello!
I'm Baakoshi, a lover of gifts😊
Previously, I talked about editing a portrait into a 3D magic circle video.
The details are written below, so please take a look if you have time✨
I tried turning a portrait into a 3D magic circle
This time, I will write about one of the most difficult video editing projects I have ever taken on.
That is,
creating a wedding video for a friend
.
It was during my third year as a working professional.
Suddenly, I was called out by a colleague.
“Baakoshi-san, I have something to tell you.”
“What’s wrong, why the formal ‘-san’ lol”
“I’ve decided to get married.”
Ohhh?🤔
Ohhhhhh?😲
Ohhhhhhhhhhh!!😆
Apparently, the partner is someone they have been dating since their student days.
That’s wonderful✨
“So, I have a request.
Could you produce a wedding video for me?”
I had been editing various videos for company events and such for a while.
With that track record, my colleague consulted with their partner and decided to ask me.
“Sure! Is it an opening video?”
“I want to combine the opening and profile videos and play it at the beginning of the ceremony.
Could you do that for me?”
Wait, a profile video?!
Wedding videos are basically composed of three parts.
It is said that the opening should be 1 minute 30 seconds, the profile 7 minutes, and the ending 5 minutes.
Yes, the profile is the longest part.
And, surprisingly, a combined version of the opening and profile is super important.
“Are you sure I’m the right person for such a big role?”
“Of course!”
We decided to meet up on a day off to get started, and I also had the chance to meet his fiancée for a planning meeting.
Fiancée: "Nice to meet you! I'm looking forward to working with you!"
Me: "Nice to meet you too! I'm Baakoshi.
Have you decided on what kind of structure you want?"
Colleague: "Yeah, could you do something like this?"
I was handed a fairly detailed structure.
I see. This looks like it will be quite challenging 😆
However, I am the type of person who gets more fired up the harder the task is,
so my fighting spirit is ignited 💪
For the video production, I will use the free tool "Javie", which I introduced in my previous article.
Even though it is free, it has the same major features as Adobe After Effects.
But I didn't know it at the time.
From here, my battle with my partner "Javie" begins.
First, I will create the introductory section.
I made it with a shimmering light effect from behind. Looking back now, I wish I had given the
text more depth and added some
orange tones to the colors for a more premium feel 💦 I was completely lacking in knowledge 😅

Since they both met because they both like Ketsumeishi, it is a story-style video that starts with the name of the artist who brought them together 📖
Since I was given a structure where the letters of Ketsumeishi appear little by little, I decided on a flow where they drop from the top one character at a time.


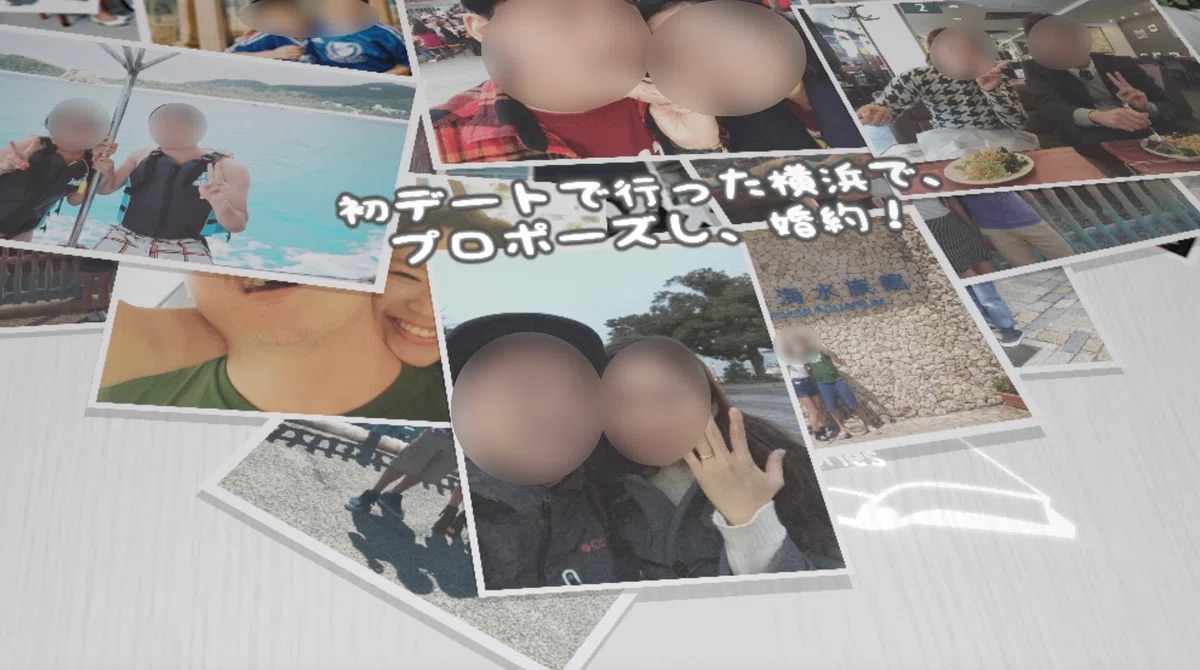
From here, photos of their memories will drop in one by one.
This part was very difficult to make look three-dimensional.
Actually, instead of a white desk, I intentionally used a patterned desk.
If you place a photo on a flat surface, it looks flat and lacks impact.
So, I made it look three-dimensional by tilting it in 3D, and added a pattern so that the tilt would be noticeable.


Next, I will delve into the individual episodes of the bride and groom.
First is the groom's part!


As an aside, the explanatory text displayed is
entirely written by the bride and groom. I shared the state without the explanatory text in advance, and had them decide where to put what text 😊
This is the state when sharing in advance ↓

Continuing with the groom's part.


Next up is the bride's part!

However, from this point on, an anomaly occurs.
My partner "Javie" started to get grumpy😱
Every time I added a photo,
it would stutter
I was using a fairly high-performance MacBook for that time, but due to the limitations of the free tool, once I tilted the desk (3D) and added 30 photos, it suddenly started to slow down💦
I had no choice but to deal with it using a temporary measure.
The ultimate move: hide the photos!👊
The more photos (layers) that are displayed, the more it recalculates all the coordinates, which makes it heavy.
In that case, I'll just turn them off when they aren't needed😆
However, this decision would later lead to further tragedy.
Returning to the story, here is the rest of the bride's part!


It's about 5 minutes long so far. To avoid rework, I
exported the video in 1-minute segments and checked them each time.
However, I wanted to check the atmosphere of the whole thing, so I decided to try exporting all 5 minutes!
It seems it takes 8 hours to export😱
So, I set it to export in the morning and decided to check it when I got home from work.
I decided to check it when I got home from work.
The next day.
I'll check it as soon as I get home.
It stopped halfway through
Oh, wait? Did I make a setting error?
I'll set it up again in the morning the next day and check it when I get home.
It definitely stopped
I tried various things to verify it, but
it seemed to stop halfway through every time.
Then, I suddenly remembered.
Come to think of it, I was forcing the edit by hiding the photos
Perhapsthe number of photos is the causeof the problem.
I'll try reducing the number of photosand set it to export.
It exported successfully✨
So,I found out that the cause was
the number of photos exceeding the export limitof the tool.
Several months have already passed since I started making it.
If I change the tool now, the file formats are different, soI'd have to start all over again.
However, an idea suddenly came to me here
I just need to reduce the number of photos per video segment.
Actually, due to the specifications of the video tool,
once it's exported as a video,it gets merged into a single layer, making it lighter.
Taking advantage of this property,
I decided to split the video export into three parts and join them together at the end.
Back to the story,it's the final sprint of the video!
It's the bride and groom's memory partnow.




Finally, it's the finale!
If you zoom out little by little...

All the memories so far form a heart shape! 😆
I created this exactly according to the bride and groom's composition. 😊

Lastly, here is the entrance guide.

Now, suddenly,
from here on is an Aha! experience quiz.
The same photo appeared in the middle, but
did you notice that the shadow in the photo was gone?
Here it is ↓

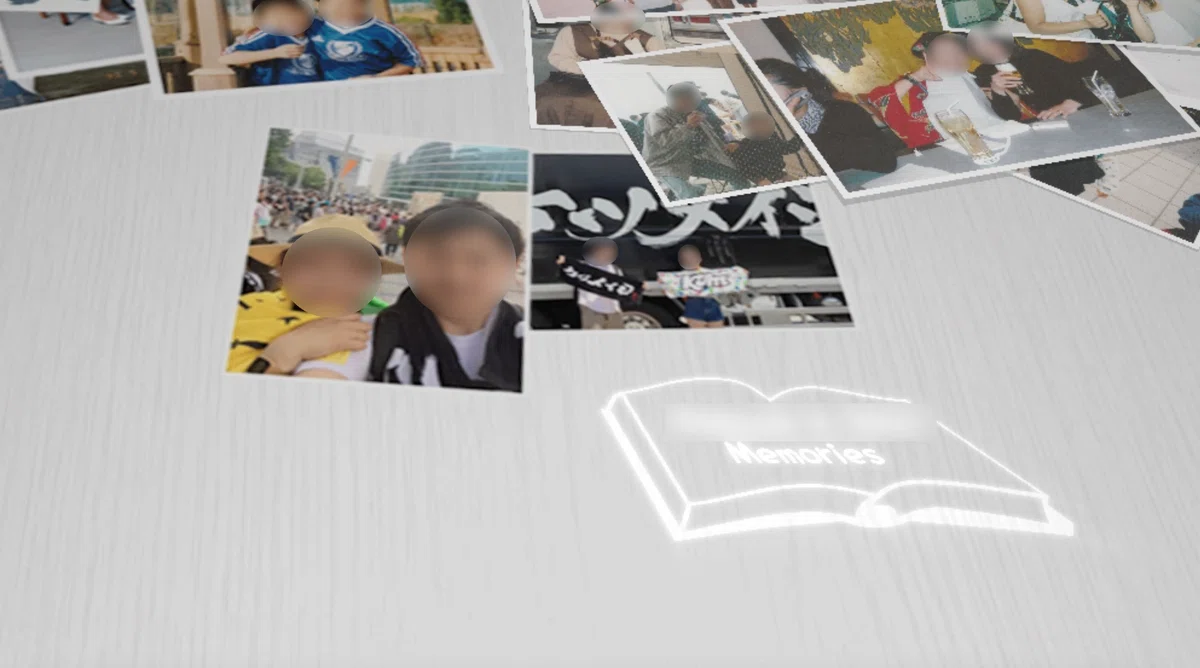
In the one without the shadow, the photo and the desk are merged.
As I mentioned above, I am outputting the video in three parts.
However, if you use the same photo before and after splitting, you have to use the same photo again.
If that happens, the number of photos increases even if you split it, and it becomes impossible to output.
So, the technique I devised is,
The ultimate move: merging the photo and the desk! 👊
With this, I kept it to one layer and reduced the number of photos!
For this task, I had my other partner, the image editing tool "Photoshop", do the hard work! 😆
The only task left is the video output!
But for this, I just have to wait 💦
I set it up in the morning and checked the output when I got home!
I set it up before going to bed at night and checked the output when I woke up in the morning!
I did this one by one for the 3 parts,
finally joined the 3 videos together, outputted it, and it was finally complete!
I managed to finish it in time for the wedding day.
Since they were going to do a test screening at the venue, I had to submit it a bit early.
I immediately delivered the finished product to the bride and groom.🏃
It's finally over.
After work on weekdaysandabout 6 hours each on weekendsis probably what I was doing.💦
Calculating from the fact that I spent about a month and a half on it,
weekdays (2 hours x 5 days x 6 weeks)
+ weekends (6 hours x 2 days x 6 weeks)
=132 hoursright?😂
Just as I was savoring the sense of accomplishment,
I got a LINE message from the groom.
Sorry for the late notice, but can you change the explanatory text here?
Oh my god😇
I changed the text and re-rendered the video.💦
However, I really didn't have the energy left, so I asked him not to make any more changes lol
This experience was a real learning opportunity.
I learned that for video editing that uses a lot of photos, it's better to just usepaid tools😆
I should have chosen a paid tool from the very beginning.😂
As a side note, on the day of the wedding, it wasscreened without any issues😊
The bride and groom were both very happy with it!
When it formed a heart shape during the final zoom-out, I heard“Oh...”from the audience, so I think it was a good video.✨
A few years later, I would go on to create two more wedding videos, including one for a friend and one for myself.
It would get too long, so I'll write about that another time if I have the chance.
Like the episode in this article, my goal is to make people around me, including friends, smile.😊
I have prepared a paid note with concrete examples and detailed production steps, so please take a look if you'd like.✨
100 yen trial article! A surprise gift that won't make the recipient feel obligated
An innovative group message gift using something familiar!
いいなと思ったら応援しよう!
 いただいたサポートは人の笑顔のために利用させていただきます。